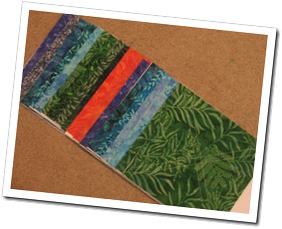
252 half-square triangle squares coming right up! The first 84:

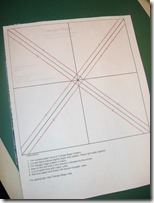
Waiting in my inbox was junk mail from Quilt-Pro Systems about a “one day only sale” on Triangle Magic software. I almost deleted it but since I was in the midst of pondering triangles, I clicked through to the product web page, and it turns out that this software prints out exactly the kind of grid I was planning to draw, for any size triangle square from 1” to 7”. The sale price was just low enough that I didn’t mind buying it to try it out.
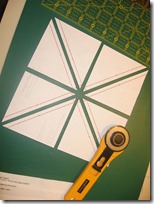
It worked! Layer 2 fabrics, right sides together, pin to paper template, sew on the red lines, cut on the black lines. The paper stabilizes the seam while pressing, and I am getting nice square units, properly square and exactly the size I want them to be!
These fabrics are all sewn and just need cutting and pressing. I have 4 or 5 more to stack and sew. I thought it would take me much longer to get all these units made up, but it looks like I may be ready to play with the layout by the end of the week!


I use that method but it depends on whether I am using whole fabric or scraps. I just do whatever works. I like how this is turning out. HST's are just so versatile!
ReplyDeleteLiri
Don't you just love how the universe helps us along sometimes by providing solutions to life's little questions?;) Have fun!!
ReplyDeleteHappy Quilting!!
Looking good! It looks like a great way to make HSTs - similar to what I do, but I just draw an X and "try" to sew 1/4" from the line. I think having a line to sew on is a good idea.
ReplyDeleteI've used that method but bought a heat-transfer pencil and drew it on paper, then ironed it onto the fabric. But that was years ago - before thangles and Anglers and all the new fangled stuff... I can't wait to see what these become!
ReplyDeleteThe stars aligned and brought you a solution. The paper must definitely stabilise the seams. I'd like to try that method. Lovely batik prints too.
ReplyDelete