
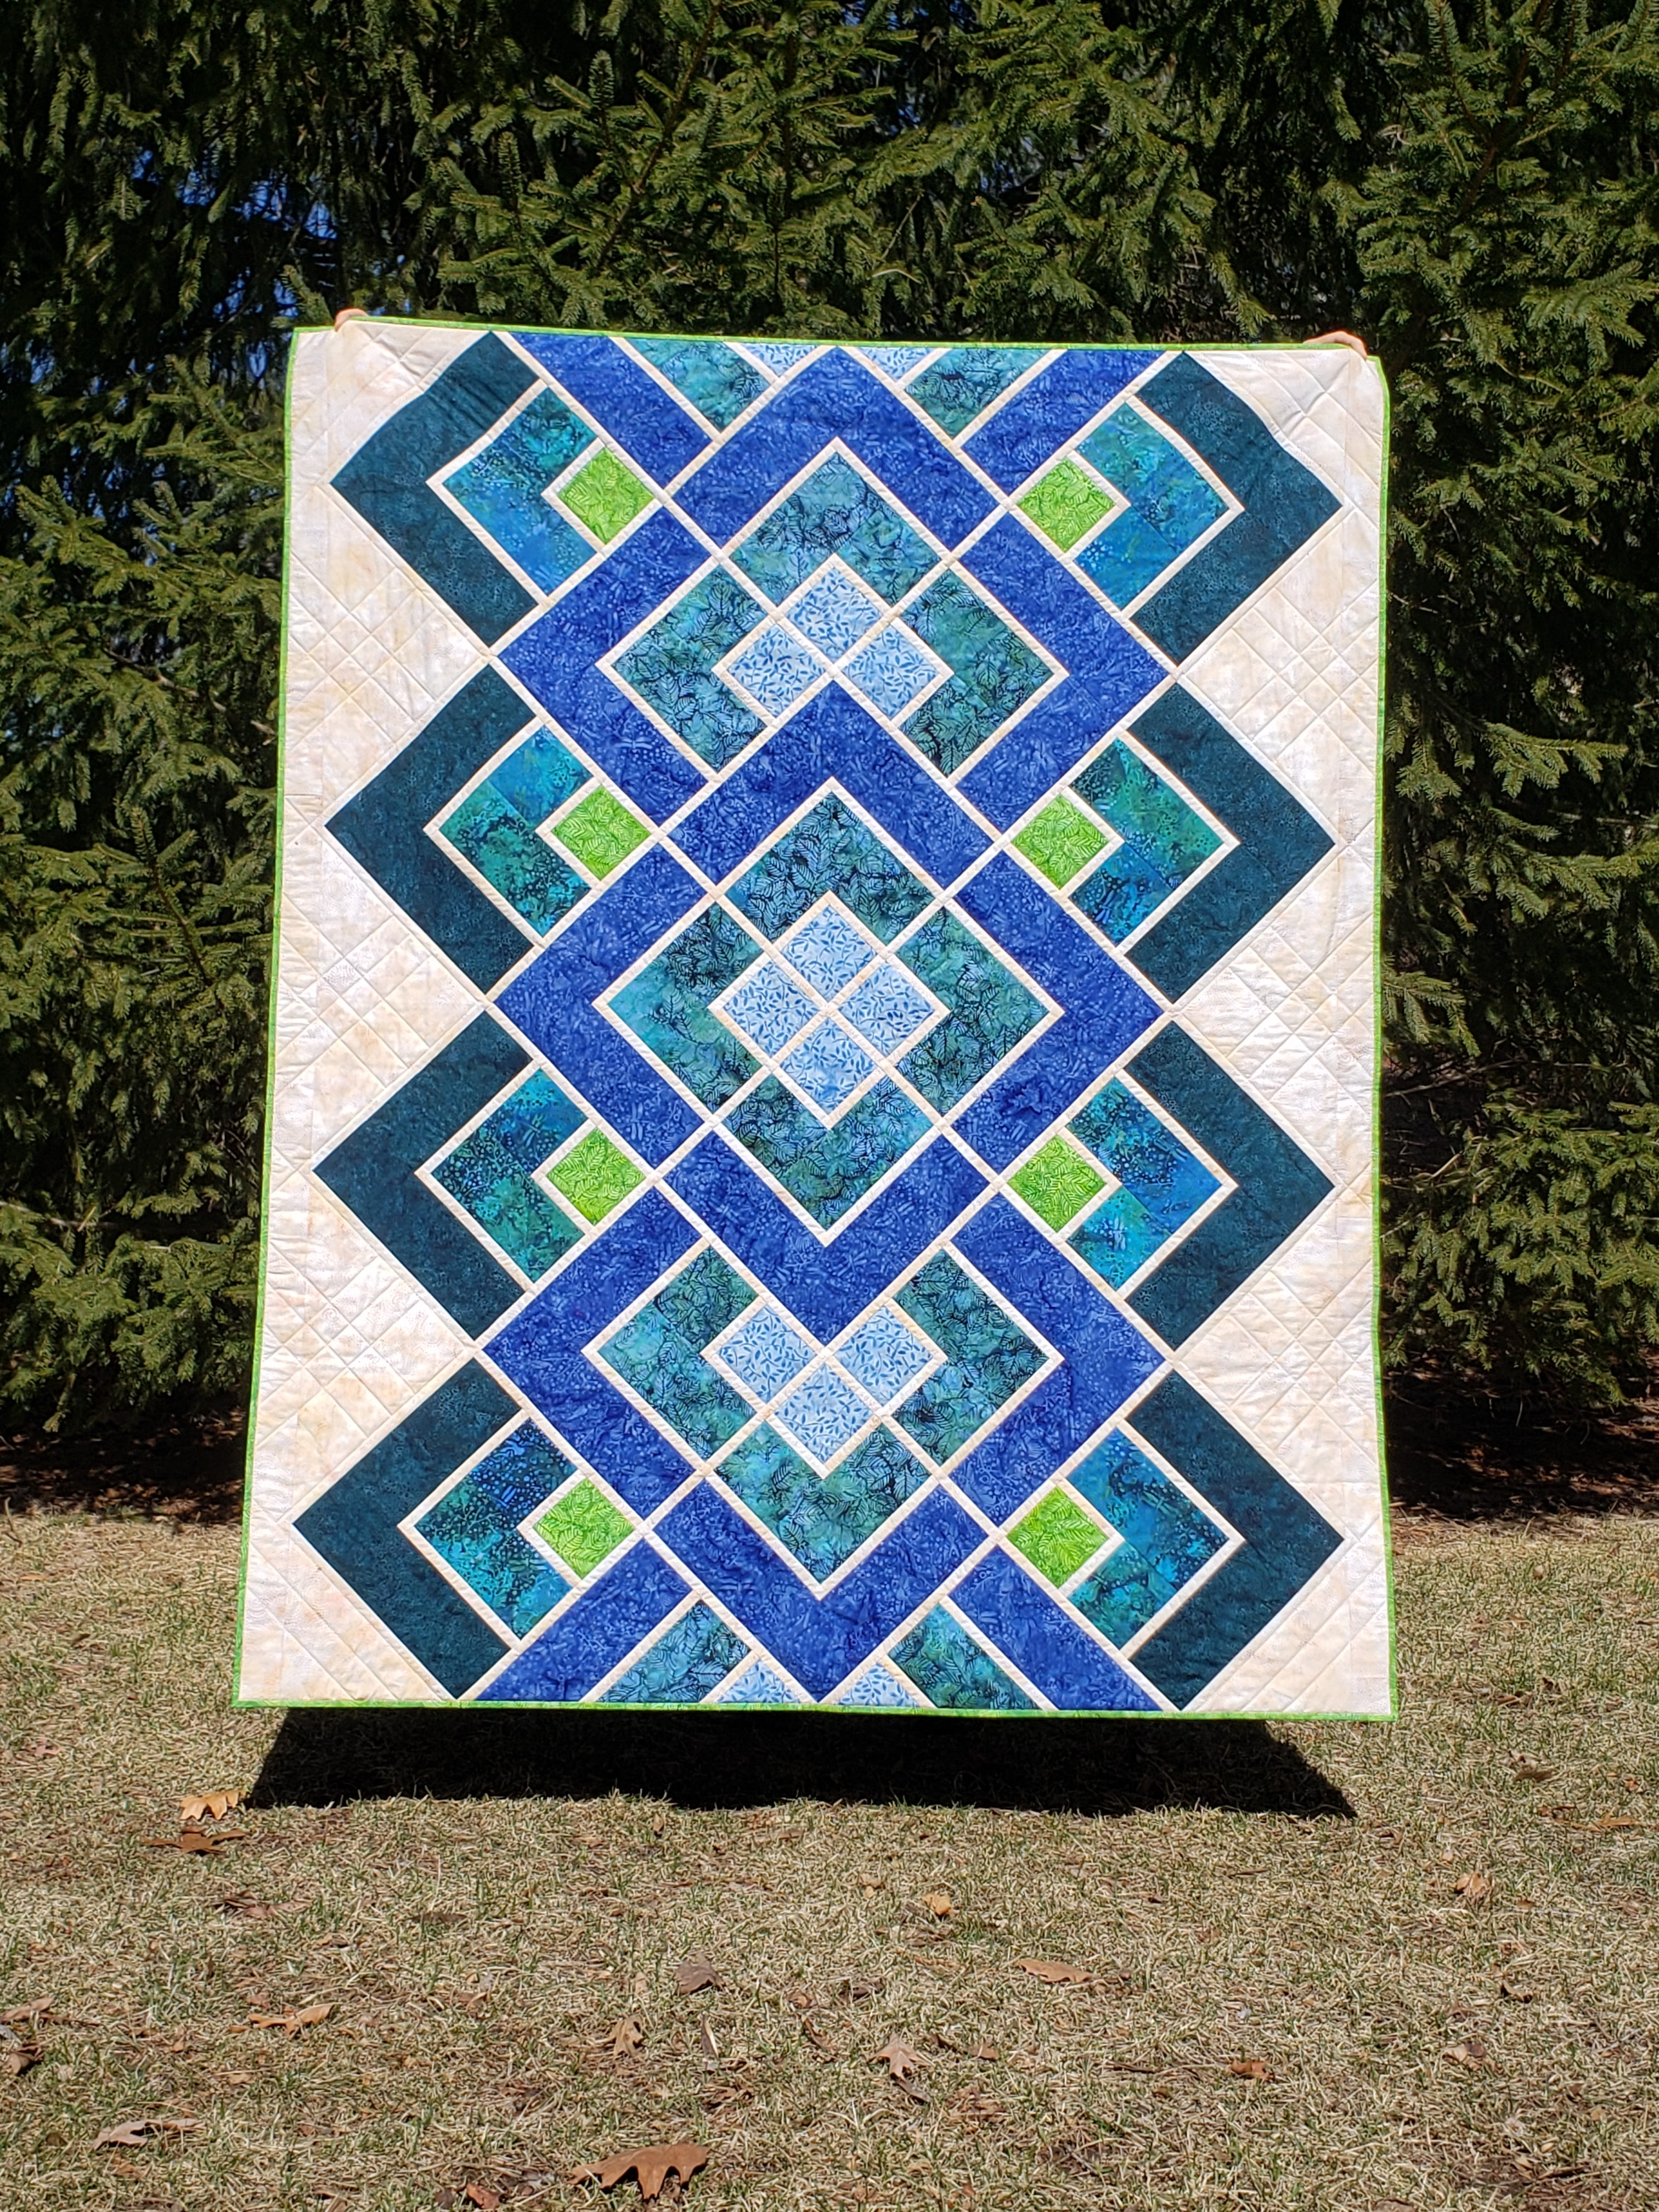
I finished quilting Modern Lace a couple of weeks ago, then waited for a sunny day and quilt holder availability to coincide so I could get a good picture to share.
As I mentioned in my previous post, I decided this quilt needed straight line quilting. I quilted it entirely with my ruler foot and a straight edge quilting ruler on my domestic sewing machine. I could have used a walking foot, but the ruler required much less wrestling with the quilt, which led to fewer aches and pains in my shoulders.
I bought matching thread to quilt in the colors...

...and promptly decided not to quilt in those spaces after all.

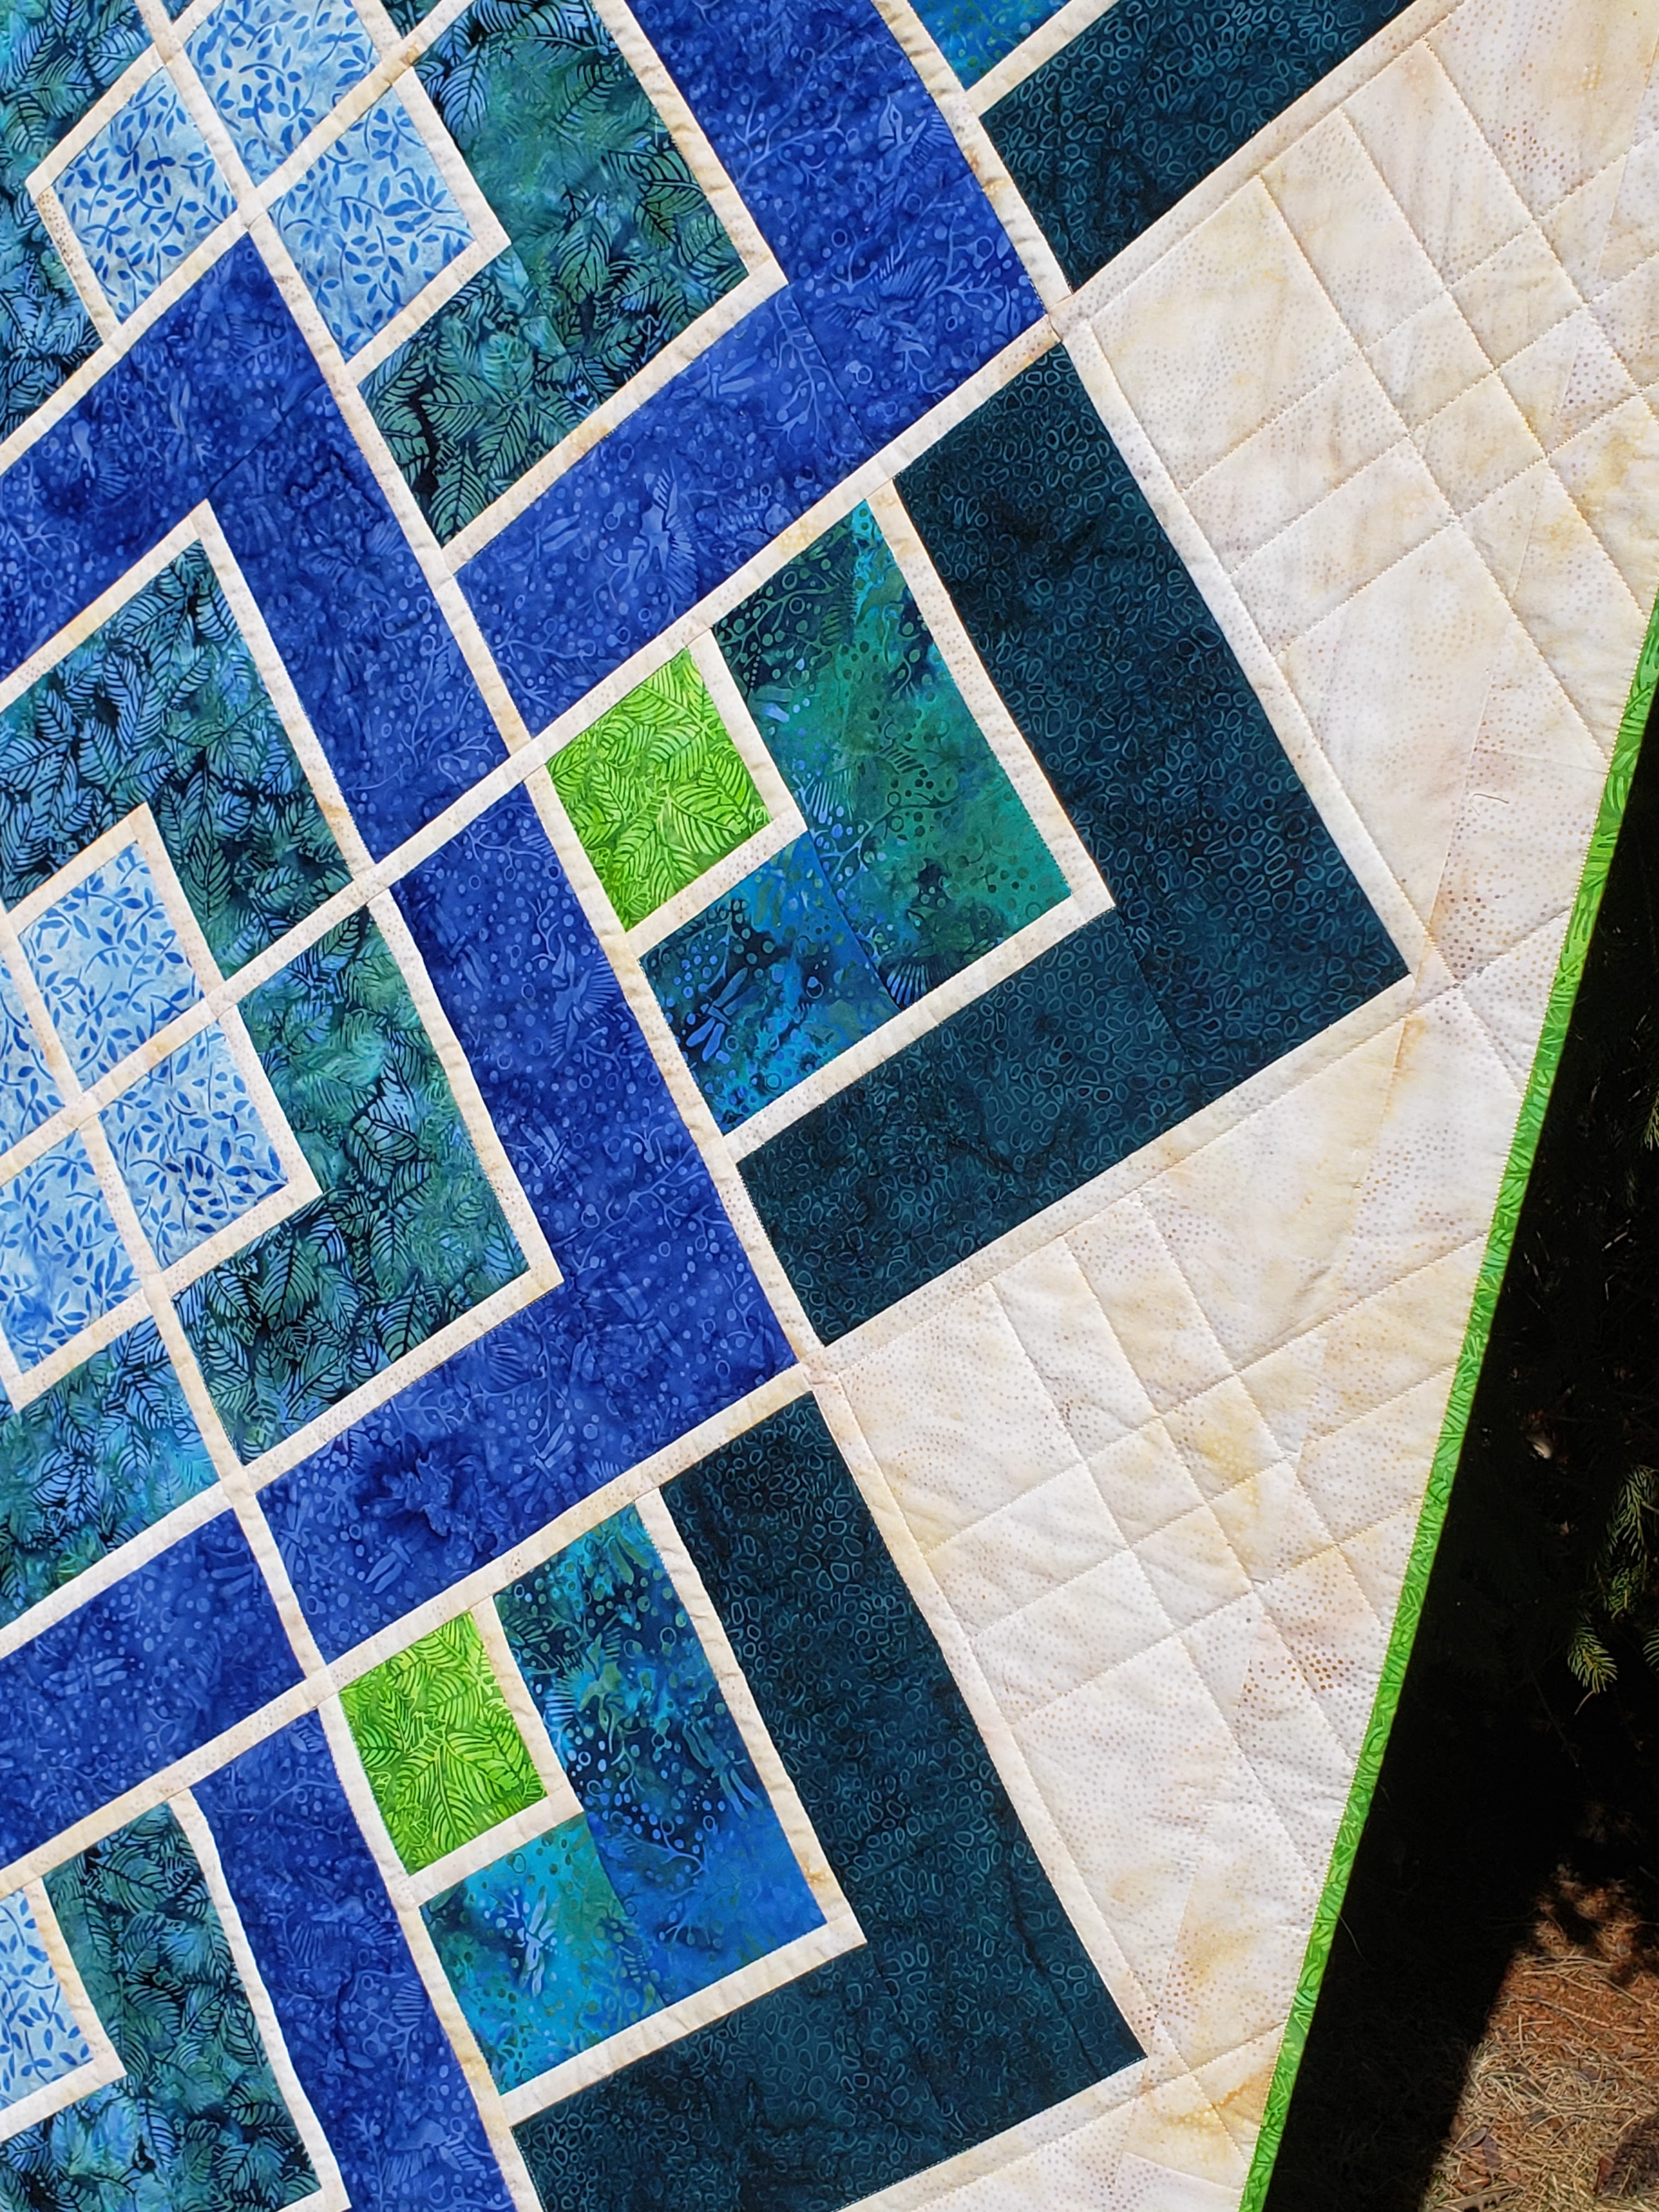
Eventually I may add more quilting, but for now, after quilting in the ditch, I thought that much quilting gave just enough definition. The ditch stitching was close enough to meet the batting's recommended quilting spacing, so I skipped additional quilting in the colored parts and moved on to the background areas on the sides of the quilt.
I like the open crosshatch I came up with. I think it complements the lines of the pieced design quite well. I took care to keep the quilting density in these background areas light. I have found quilting more densely in some areas than other makes the quilt wavy, so I didn't want the background quilting to be much more dense than the ditch quilting in the center.
This quilt will probably make it into my "There's More Than One Way to Quilt a Quilt" presentation. You can visit the lectures page on my website for more information about that and other Zoom presentations I'm offering to guilds and groups.
The green binding was already made, but I had a moment of uncertainty when I started sewing it on. It seemed very strong. Perhaps I should have chosen one of the blues? Nope. Once it was finished, I agreed with my earlier self. The green binding picks up the small amount of green in the blocks just right.
As I was quilting this quilt, I received an email from a customer asking about resizing this pattern to fit a bed. The pattern is for a throw size only. At the time I wrote the pattern, I thought there really was no way to size it up and still maintain the lace/braid design. Half a year later, as I worked on this sample, the email got my brain working in a different direction.

Here's the throw spread out on my queen sized bed. It fills the center of the bed quite nicely! A few more block repeats in the length would let the design reach the head of the bed and drape down the foot of the bed. Adding 15-25" of background on each side would add the side drape. I initially thought that would be too plain, but isn't the design on top of the bed what most draws the eye anyway? The plain sides would be a great place to showcase some quilting. Maybe this inspiration struck because I was quilting at the time?

Now I think I might need a new queen sized quilt for my bed. But first, I need to make a full sized version of Cascade for my son's new bed. All grown up, my hulking son has outgrown a twin bed and needs a bigger quilt. I was stumped about what design to make, and again, a customer email nudged me in the right direction. Cascade with a few extra borders will be perfect.
I'd love to hear any creative ways you have repurposed a pattern to make it fit a larger bed, or your thoughts on other ways to make Modern Lace larger.
Happy quilting,
Joanne
I like the idea of just adding a wider side border. Anything else would take away from the design, in my humble opinion. But it might require more quilting than the limited background space on the smaller quilt and that is always where I struggle. I do like how you quilted this, though, even if you ended up not using al those pretty colors of thread.
ReplyDeleteI am forever upsizing quilts from queen to king to fit my bed. It's usually done by widening the side border. I try to repeat a pattern from the quilt or add a plain stripe, or a pieced border insert, then follow it with a secondary border of plain fabric to break up the large expanse of width. Then it actually looks like part of the design, instead of an add on.
ReplyDeleteSo very pretty.
ReplyDeleteFor a larger bed I'd do a diamond pattern on the two side edges - that way they'd show on the edge of the quilt over the side, but wouldn't take anything away from that beautiful design down the middle.
I would have way overquilted this quilt - I really like what you've done.