On Saturday, I tried to get into a festive spirit by blasting Christmas music and sewing with Christmas fabric. I pulled out a small scrap project and decided to turn it into a pillow to start adding a touch of Christmas color to my living room.
 |
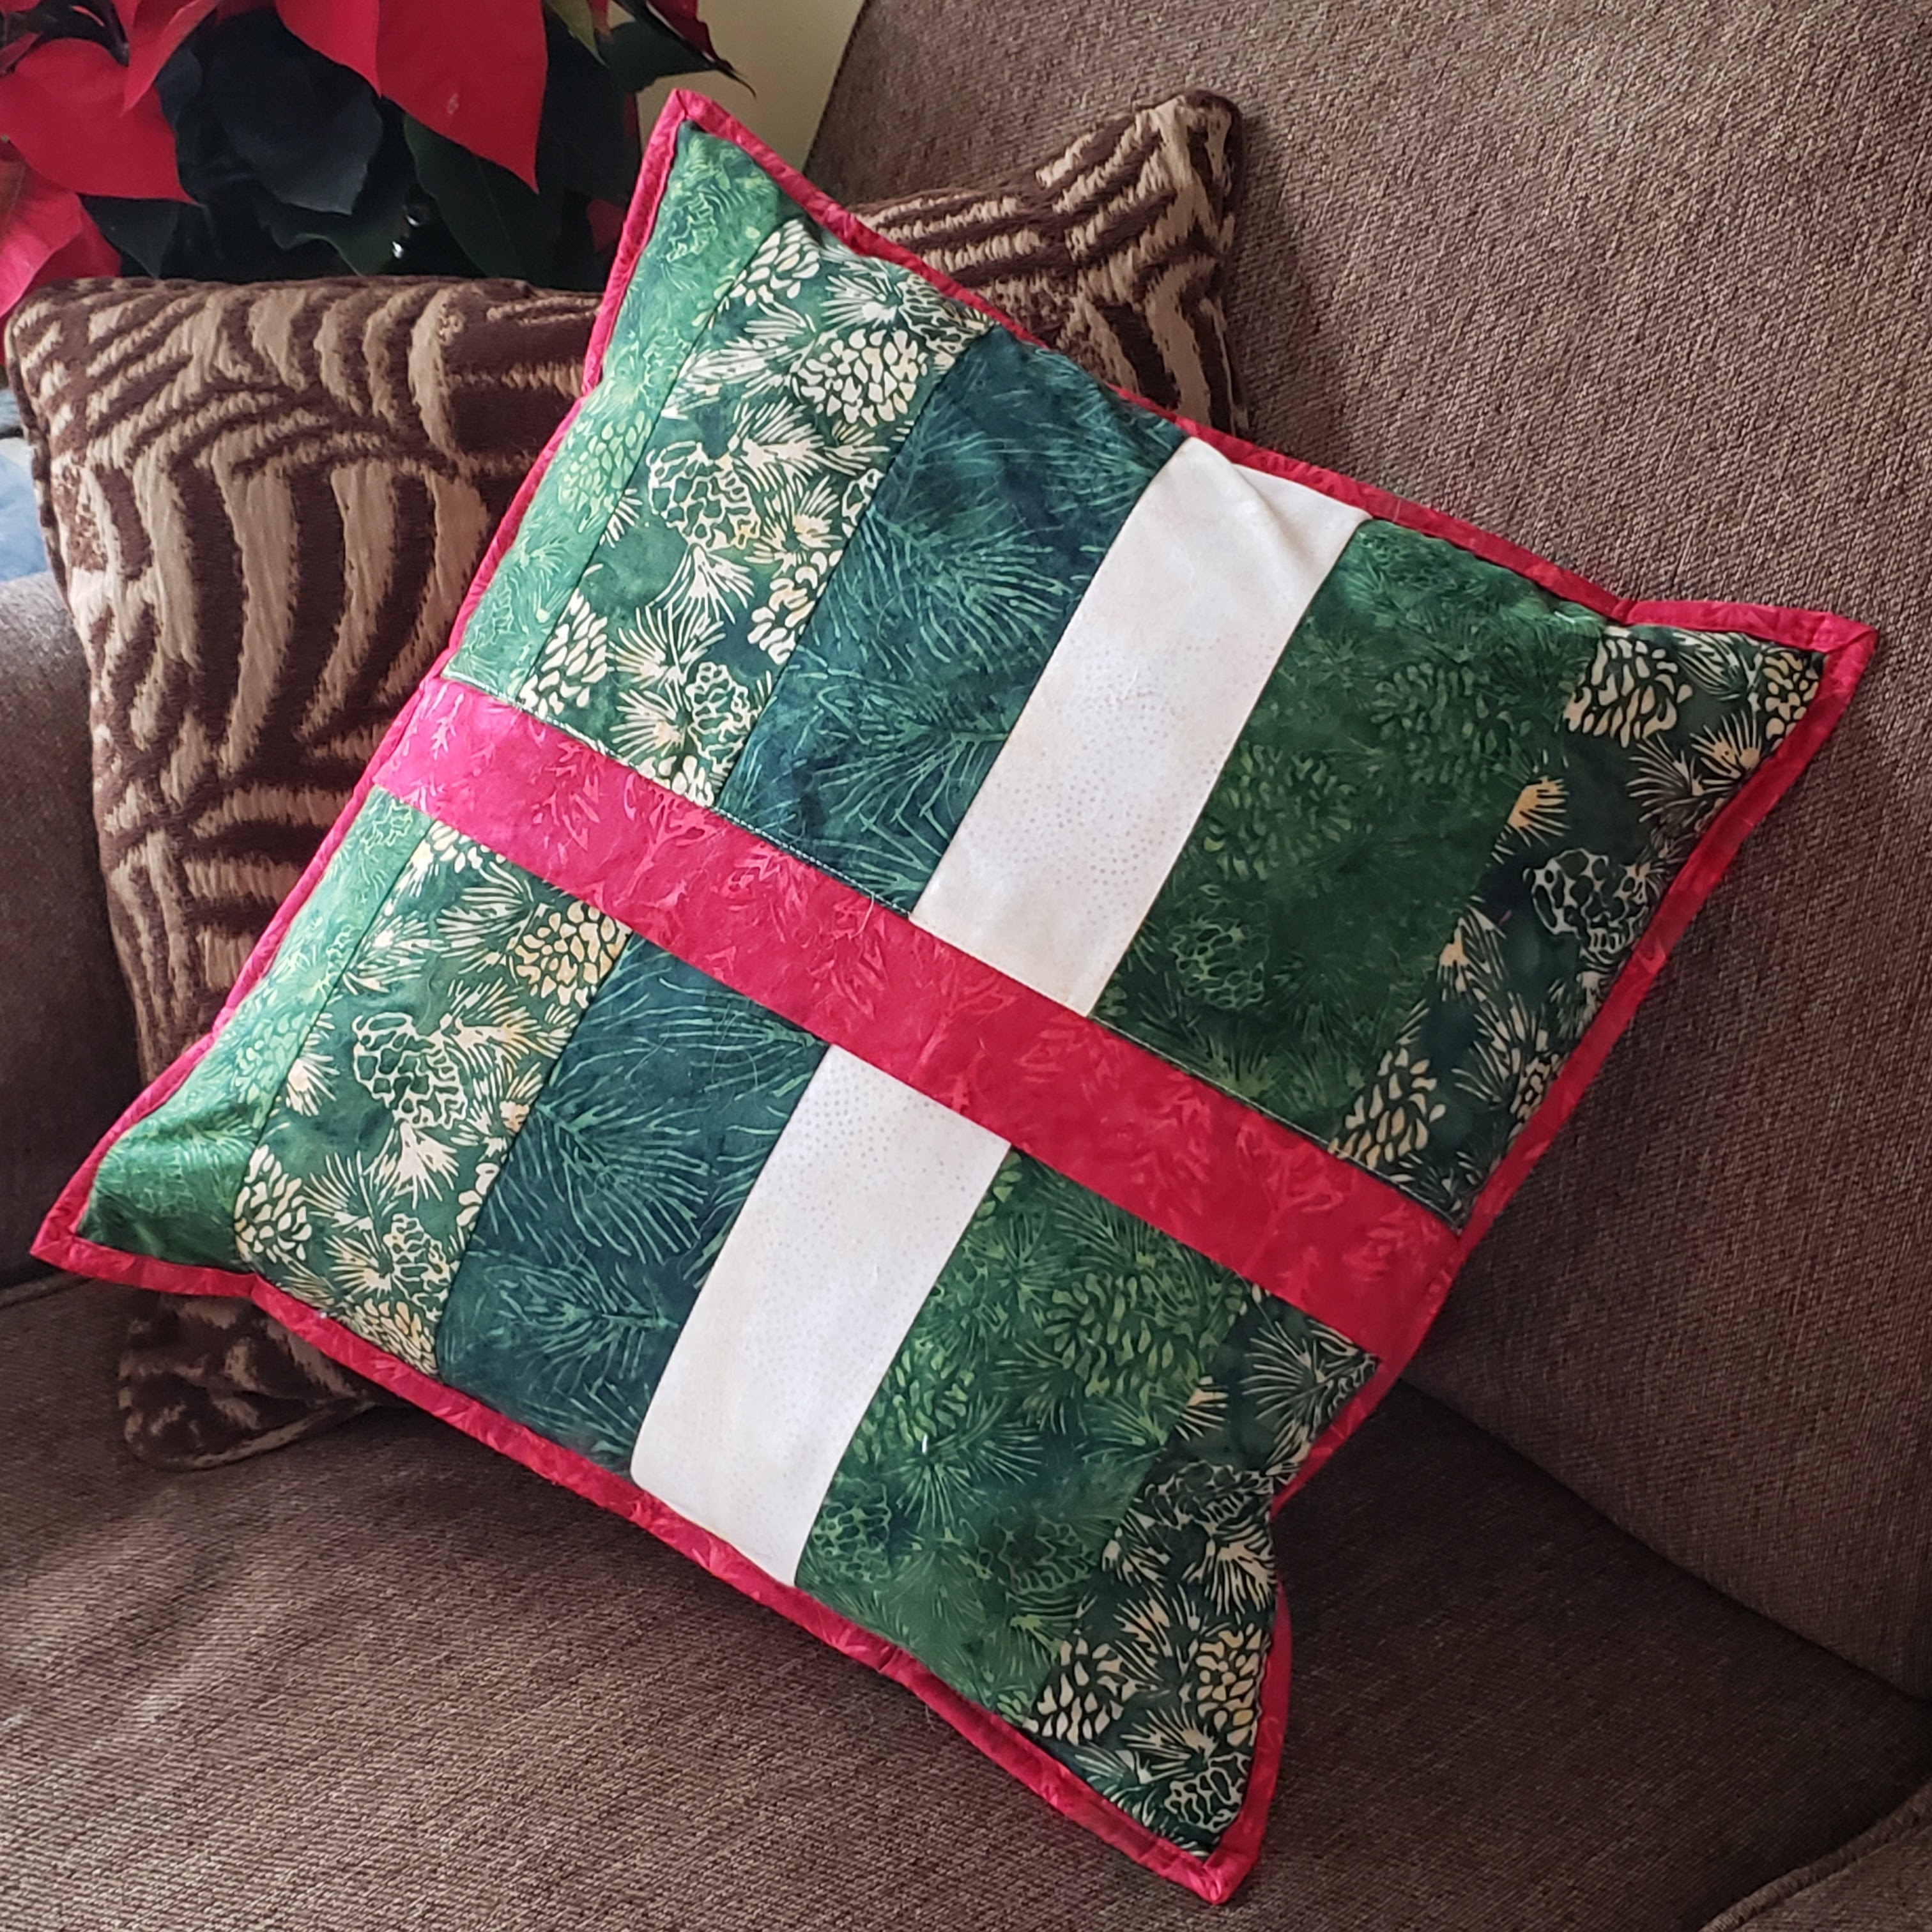
| Pillow made with scraps from Winter Wonders collection from Island Batik |
When I made a zippered pillow in October, I had to figure out how to do it all over again, as the tutorial I had previously followed had disappeared and I couldn't find quite the right keywords to search with to find an alternative. I had to figure it all out again when I made this Christmas pillow. To avoid having to figure it out next time, I took pictures this time around. I'm writing up the directions to go with the pictures so I'll have a tutorial to refer to in future. I hope you find it useful as well.
Click here for a printable version of the tutorial.
MATERIALS
- Pillow form
- Pillow top - can be one piece of fabric or a pieced top, sized to fit your pillow form.
- Back panels - see below for how to calculate the size
- Accent strip to hide zipper - 4" x width of backing panels
- Binding - as much as you need to bind around the pillow (add up the lengths of the sides and add as many extra inches as you need for your preferred method of joining binding ends)
- Zipper - choose one that is a longer than the width of the pillow, and that you can sew over and easily cut (no metal teeth!)
Tip: Consider making your pillow cover smaller than the pillow insert for a plump, full pillow.
- For pillows under 18" make the cover 1" smaller than the insert
- For pillows 18" or larger, make the cover 2" smaller than the insert.
PREPARE BACK PANEL
Determine measurements and cut pieces
The pillow back can be made of a single fabric, two panels of different fabrics, or even pieced panels. I like to make the back a little larger than the top and trim away excess fabric on the sides at the end.
Option 1 - start with a single panel (single fabric or pieced)
- panel width = width of pillow top plus 1"
- panel height = height of pillow top plus 1 1/2"
Cut the panel into two pieces, cutting along the width. You can choose to cut into two equal halves, or make one piece larger than the other. For the pillow in this tutorial, I pieced fabric strips into a single panel, then cut it in half.
Option 2 - start with two panels
- panel width = width of pillow top plus 1"
- panel heights - the two panels can be different heights. Start with two heights that add up to the height of the pillow, and add 3/4" to each one.
Insert zipper
1. Layer lower panel (right side up) and zipper (wrong side up), matching edges of the zipper tape with the top edge of the panel. Pin in place.
2. Using a zipper foot, sew close to the zipper teeth.
3. Press fabric away from the zipper and topstitch close to the folded edge.
4. Press the accent strip in half lengthwise, right side out. (I used batiks, so the right side out part isn't obvious here, but you really want the right side of the fabric showing on the outside!)
5. Matching the top edge of the panel with the raw edges of the accent strip and the edge of the zipper tape, layer the upper panel (right side up), folded accent strip, and zipper (wrong side up). Pin layers.
6. Using a zipper foot, sew close to the zipper teeth.
7. Press backing panel away from the zipper and accent strip. The accent strip will cover the zipper.
8. Topstitch on the upper panel, close to the seam, to complete the back panel.
ASSEMBLE PILLOW COVER
9. Layer the pillow back and pillow top wrong sides together, centering the top on the back.
10. Pin top to back. In particular, pin at the zipper tape on the end with the zipper pull, but take care not to pin through the accent strip layer. Orient the pins on each side of the zipper teeth so you can still slide the zipper open.
11. Open the zipper partway so the zipper pull is inside the pillow area. Note that the pins should hold the zipper tape in place so it doesn't shift when you open the zipper.
12. Sew along all sides of the pillow top with a 1/4" seam allowance, then trim away excess back fabric. Use scissors to cut through the excess zipper. It's probably a good idea to not use your good fabric scissors for this part.
13. Using your preferred binding method, bind the edges to finish the pillow cover.
14. Insert the pillow form into the cover, zip the cover closed and enjoy your pillow.
I'm really pleased with how the pieced back worked out. I have previously used a single fabric, but I quite like the pieced look for this larger pillow. I think this one is definitely reversible!
 |
| Pillow back made with scraps from Winter Wonders collection from Island Batik |
I'm happy to report that working on this project nudged me into a Christmas frame of mind. After tossing the pillow on the couch, I was in the mood to go buy my poinsettias, which in turn led to pulling out the Christmas décor. The tree will wait until the weekend before Christmas when my 21 and 23 year-old kids will be around to help decorate (tree-trimming ia always a family affair), but there's now enough red and green in my house to make me smile through December.
What gets you in the holiday decorating mood? Are you working on any holiday sewing projects?
Happy quilting,
Joanne