Sunday, October 30, 2022

Trimmed tips for the win

This little tool came packaged with a magazine years ago.  It sat in a drawer, unused and unappreciated, for years.  Now it's the tool I reach for most often after my rotary cutter and rulers.

It's a corner trimmer.  When it first arrived in the mail with that magazine, I thought it was only useful for trimming triangles to make HST the traditional way from two triangles.  Since I didn't much care for making  HST that way,  I tucked the tool away and forgot about it.  Years later I found it while reorganizing my stuff.  I paused to read the instruction booklet. Now the tool is never tucked away.

I still don't use it to make make HST, but I fully appreciate it to trim any other 45 degree point.  It takes all the guesswork out of lining up a triangle with another shape.  No more eyeballing if the pointy tip sticks out just enough past the other shape for the seam allowances to line up.  I took pictures today to show you.


I'm testing a new design idea that has lot of 45 degree points that meet wide 135 degree corners.


When sewing that seam, the points and corners need to be offset for everything to line up straight after the seam allowance eats into the fabric.  The trick is to have the points stick out the same amount on each side.  I can "eyeball" this and hope for the best, with my seam ripper on standby in case I didn't estimate quite right.

Or, I can use my corner trimmer to trim the points just right.


Now the blunt, trimmed points match up perfectly with the wide corners.  No guessing required.  


Sew with a 1/4" seam and ...


... tada!  Straight edges line up beautifully on the first try and my seam ripper gets the night off.

It takes a little extra time to trim points, but I save time in the long run by getting things lined up right the first time and avoiding seam ripping an resewing.  

I love my corner trimmer!  I also use it when:
  • joining binding strips to avoid marking the diagonal seams
  • joining the binding tails while binding a quilt (scroll down about 2/3 of the way down this post to see how)
  • adding setting triangles to an on-point setting (trimming points lets me position them precisely, so I can pin them in place and avoid any inadvertent stretching or distorting of the bias edges in the triangle)
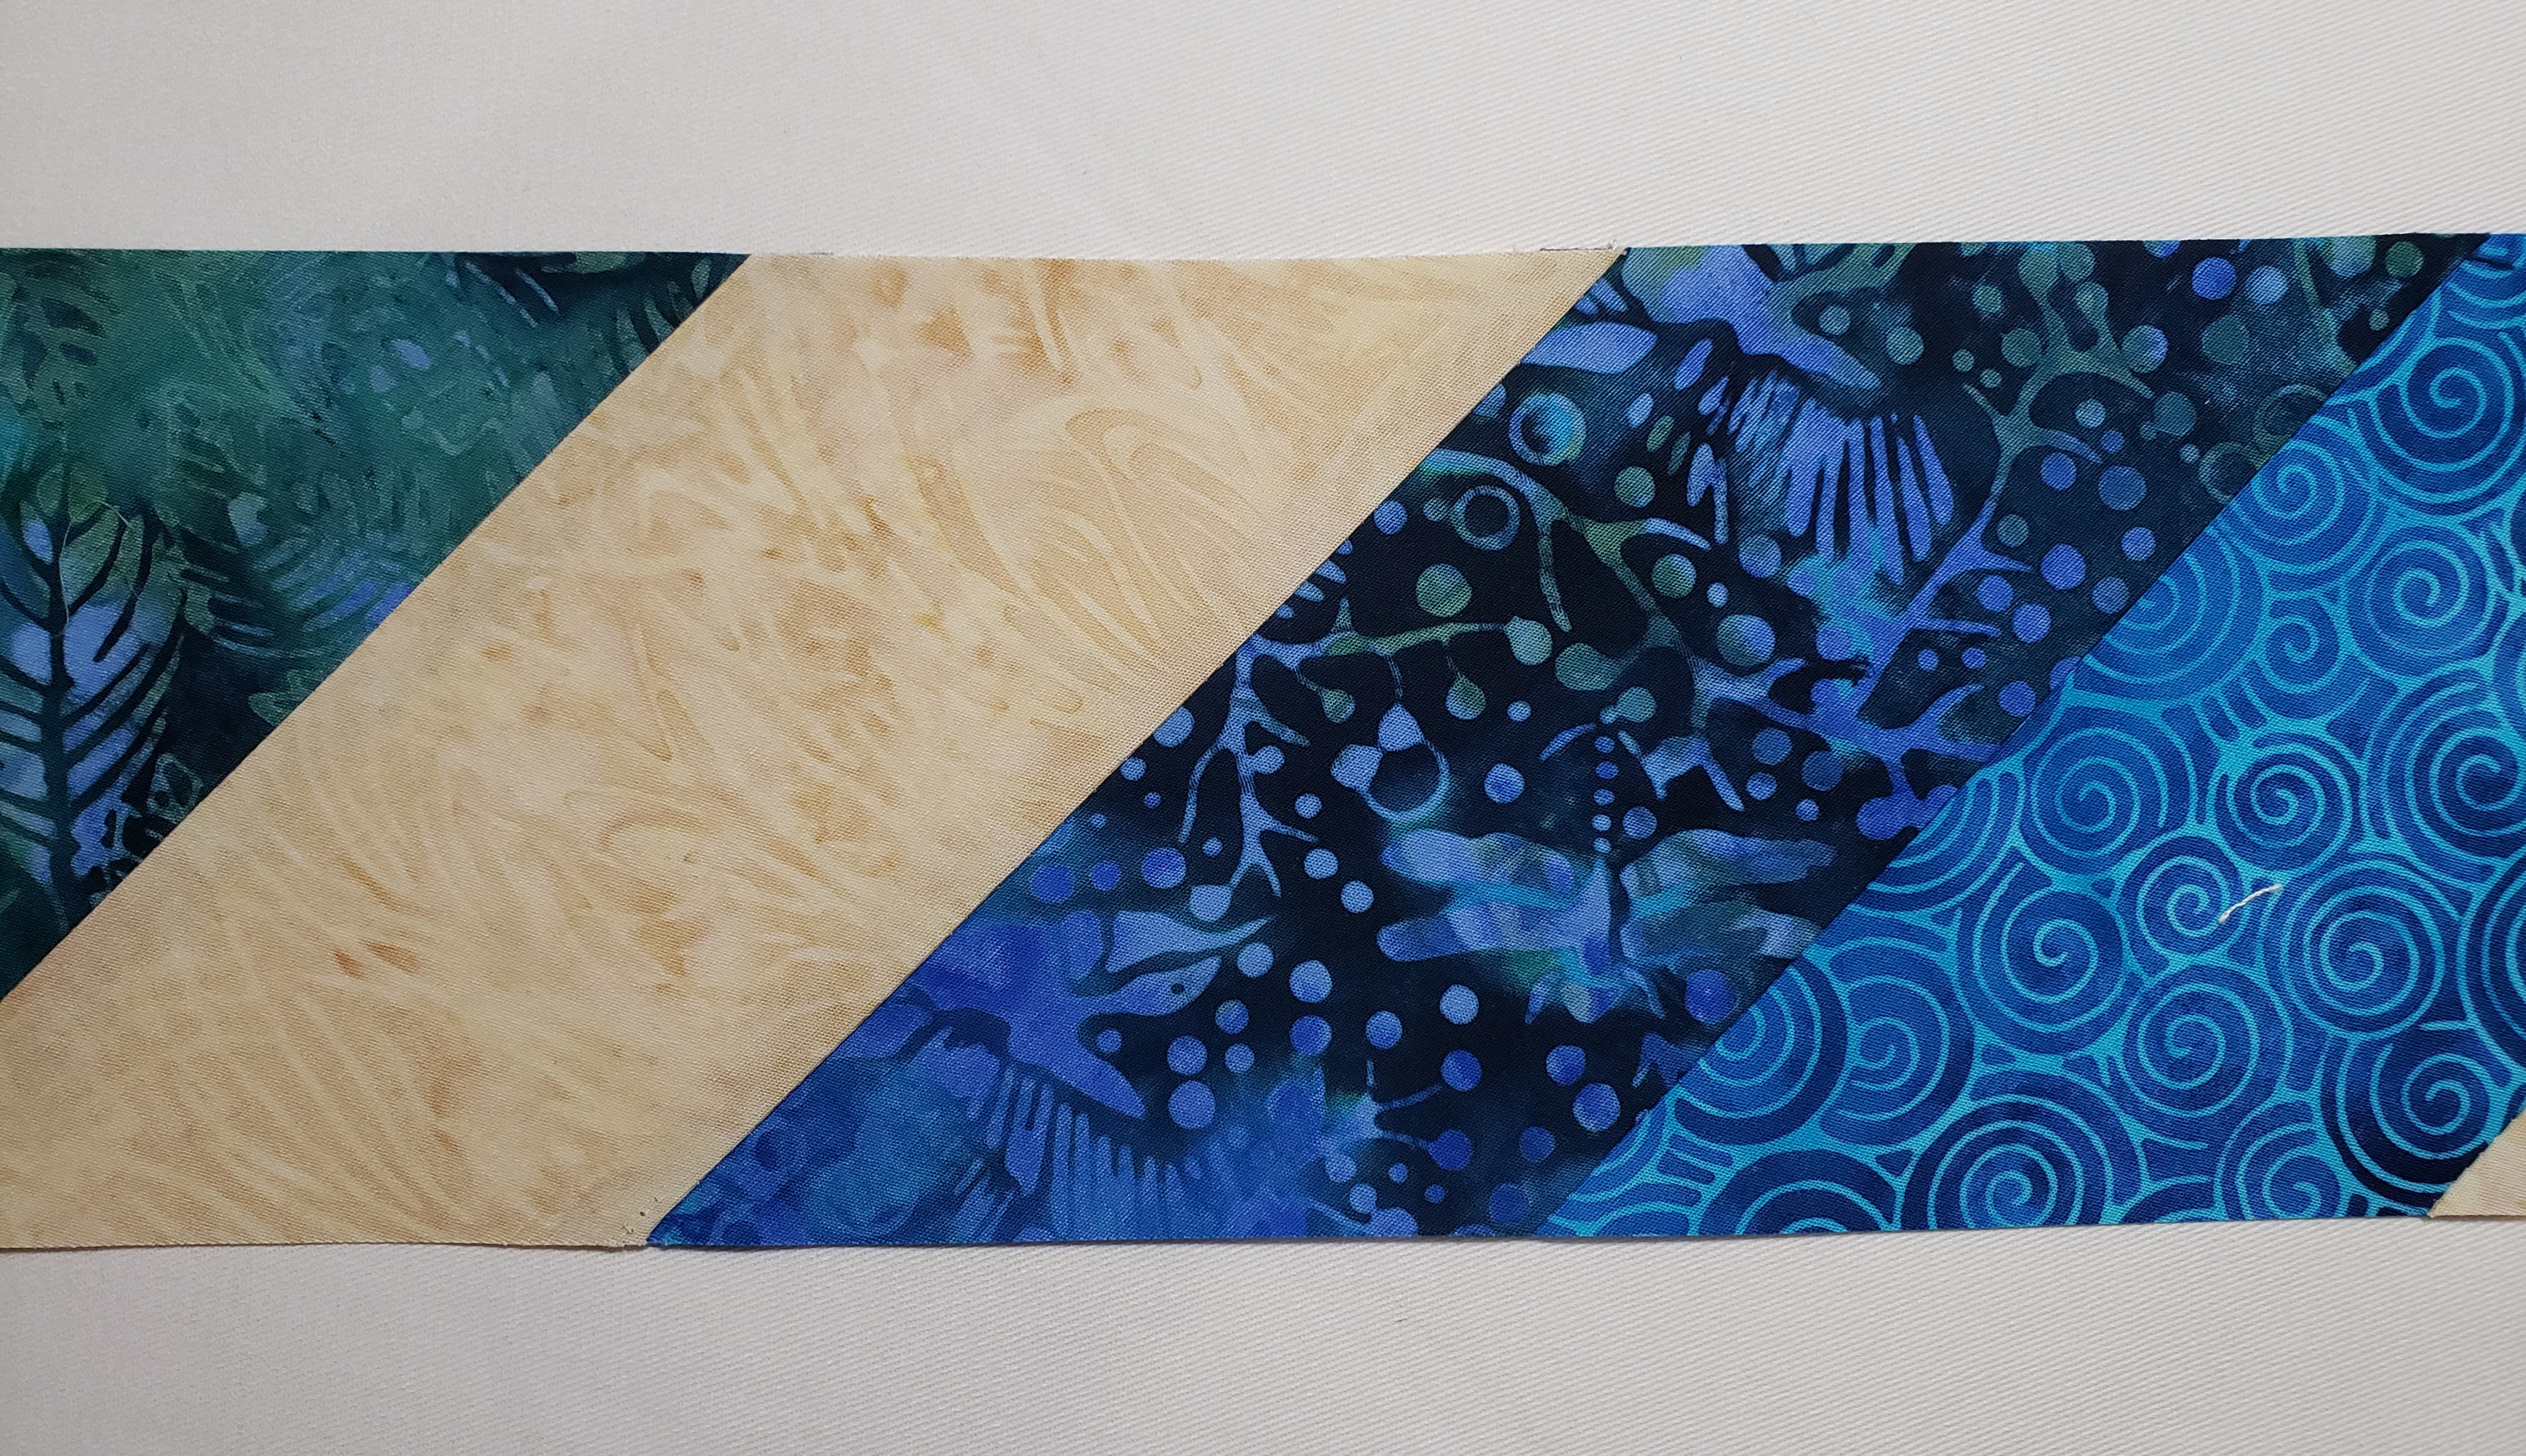
  • sewing a triangles to a square or rectangle
So, it's a small but extremely useful tool.  I can't believe it was relegated to a junk drawer for so long.

Do you have a favourite tool to recommend for better piecing?  I'd love to hear about it.

Happy quilting,
Joanne

PS: The Placemat Party 2022 is next weekend!  It's free and you can sew whatever you like but you need to sign up here for the Zoom meeting schedule and links if you want to participate that way, and/or join my Facebook group  to participate there.

Thursday, October 27, 2022

Pondering Placemats

On a short trip in summer 2021, I bought fabric for Christmas placemats.  Despite my good intentions, I did not finish (or even start) new placemats for Christmas that year.


In October 2021, I chose lovely earth tone Stonehenge fabrics to test my Echo Point placemat idea, thinking if it worked I'd have not only a pattern but also new placemats for Thanksgiving.   The idea worked out and I went on to write the pattern, but somehow I did not have finished placemats for Thanksgiving 2021


The calendar on my wall (it's a quilty comics calendar from By the Yard) assures me that Thanksgiving and Christmas are coming up fast, again.  I'm determined to have my new Thanksgiving and Christmas sets ready for the 2022 season.  That means I need to commit to setting aside time to sew them.

What's the best way to make myself accountable to actually set that time aside?  Invite people to join me!  Then I have to show up :)  So, who wants to join me virtually the first weekend in November for some dedicated sewing time?

Placemat Party 2022
November 4th - 6th


I'm calling it a Placemat Party because that's where my focus will be, but you could sew whatever you like.  I'm going to be live on Zoom several times over the course of the weekend and hope you'll join me to share what you're sewing and so we can cheer each other on.  You can participate as much or as little as you like, as time and inclination allows.

I also created a Quilting with Canuck Quilter Facebook group where members can post to share pictures and chat in the comments all weekend and beyond.  I'm going to keep this group open past the party.  The party was just a little nudge to make me finally set up a group.

This is a completely free event.  You can participate on Zoom, Facebook, or both.  There's no need to register, though you need a Facebook account to participate in the Facebook group. You can sign up here to get the schedule, zoom link, reminders and updates delivered to your email inbox.

What's on your project list between now and Christmas? I hope to chat with you in November and cheer you on.

Happy quilting,
Joanne

PS.  If you need placemat inspiration, you can check out all my placemat patterns in my Etsy shop.

Friday, October 14, 2022

Little Friday Finish - Shuffle pillow

This week I spent too much time on the computer, and it wasn't to do the fun stuff like designing.  It made me grumpy.  Time for some sewing time to lift my spirits!


Sewing time helps chase away the grumps, and the satisfaction of finishing something helps even more, so I chose something small to work on.  This was the test block for my Shuffle placemat pattern. I made it over two years ago, and quilted it with the intention of making it into a pillow.  I found it again when I refreshed my sewing room last month.

I remember pulling it out last year, and hitting a snag when I could not find the tutorial I liked about how to add a hidden zipper.  The host blog had shut down completely and all its posts were gone. I have made many pillow covers in the past using an envelope finish and a little bit of Velcro for a closure, but once I tried this zipper finish, I couldn't go back.  Of course, I hadn't made enough of them to really remember how it worked, so I set this pillow project aside for later.


Yesterday I found some rough notes and it all came back to me.  Yay!  It's funny how I avoided this for a year, and the longer I left it the more complicated it became in my head.  Once I just started, it was actually very easy, and came together very quickly.

The zipper is covered by a folded strip of fabric.  Choosing a coordinating fabric made it flap decorative as well as functional.

My next challenge is to write up (or maybe film?) a tutorial so I'll always have it to refer to when I forget how to do this. 

UPDATE:  Go here for the tutorial!

Do you make pillows, and if so, how do you close them?

Happy quilting,

Joanne

Tuesday, October 4, 2022

An uncommon block size

 As I started writing instructions for my prairie point embellished pumpkin runner, it occurred to me that I chose a rather uncommon block size as the base.  Who makes 7 1/2" finished blocks?  I do, apparently.

I'm trying to figure out why I chose that size.  I pieced the top two years ago this month, so it's all a little foggy in my memory.  I think the answer lies in the Canada Day runner I made in July that year.


When I made this one I was just playing with red scraps.  I had a stack of 3 1/2" red squares in the scrap bins, and I used those to make the HST for the leaf tips, which led to 2 1/2" finished HST.  Those dictated the size of the finished block:  3 x 2 1/2" = 7 1/2".

How did that dictate the size of my pumpkins?  I used the maple leaf runner as my model for the sashing and borders widths.  Since I was just playing with orange scraps, it wasn't a big deal to make my pumpkins the same size as the leaves so the proportions would still work.

I had planned to share the runner setting instructions as a free download for my newsletter subscribers, with the understanding that you could use any 7 1/2" finished block of your choice to suit your purpose.  Now I'm wondering if there's any point, because there aren't a lot of patterns for 7 1/2" blocks floating around.  Maybe I need to pair the setting with block patterns?  That's would be a whole new project to add to my "to do" list.

Thoughts?  Opinions?  Suggestions?  Please share!

Happy quilting,

Joanne

PS You can sign up for the newsletter here.