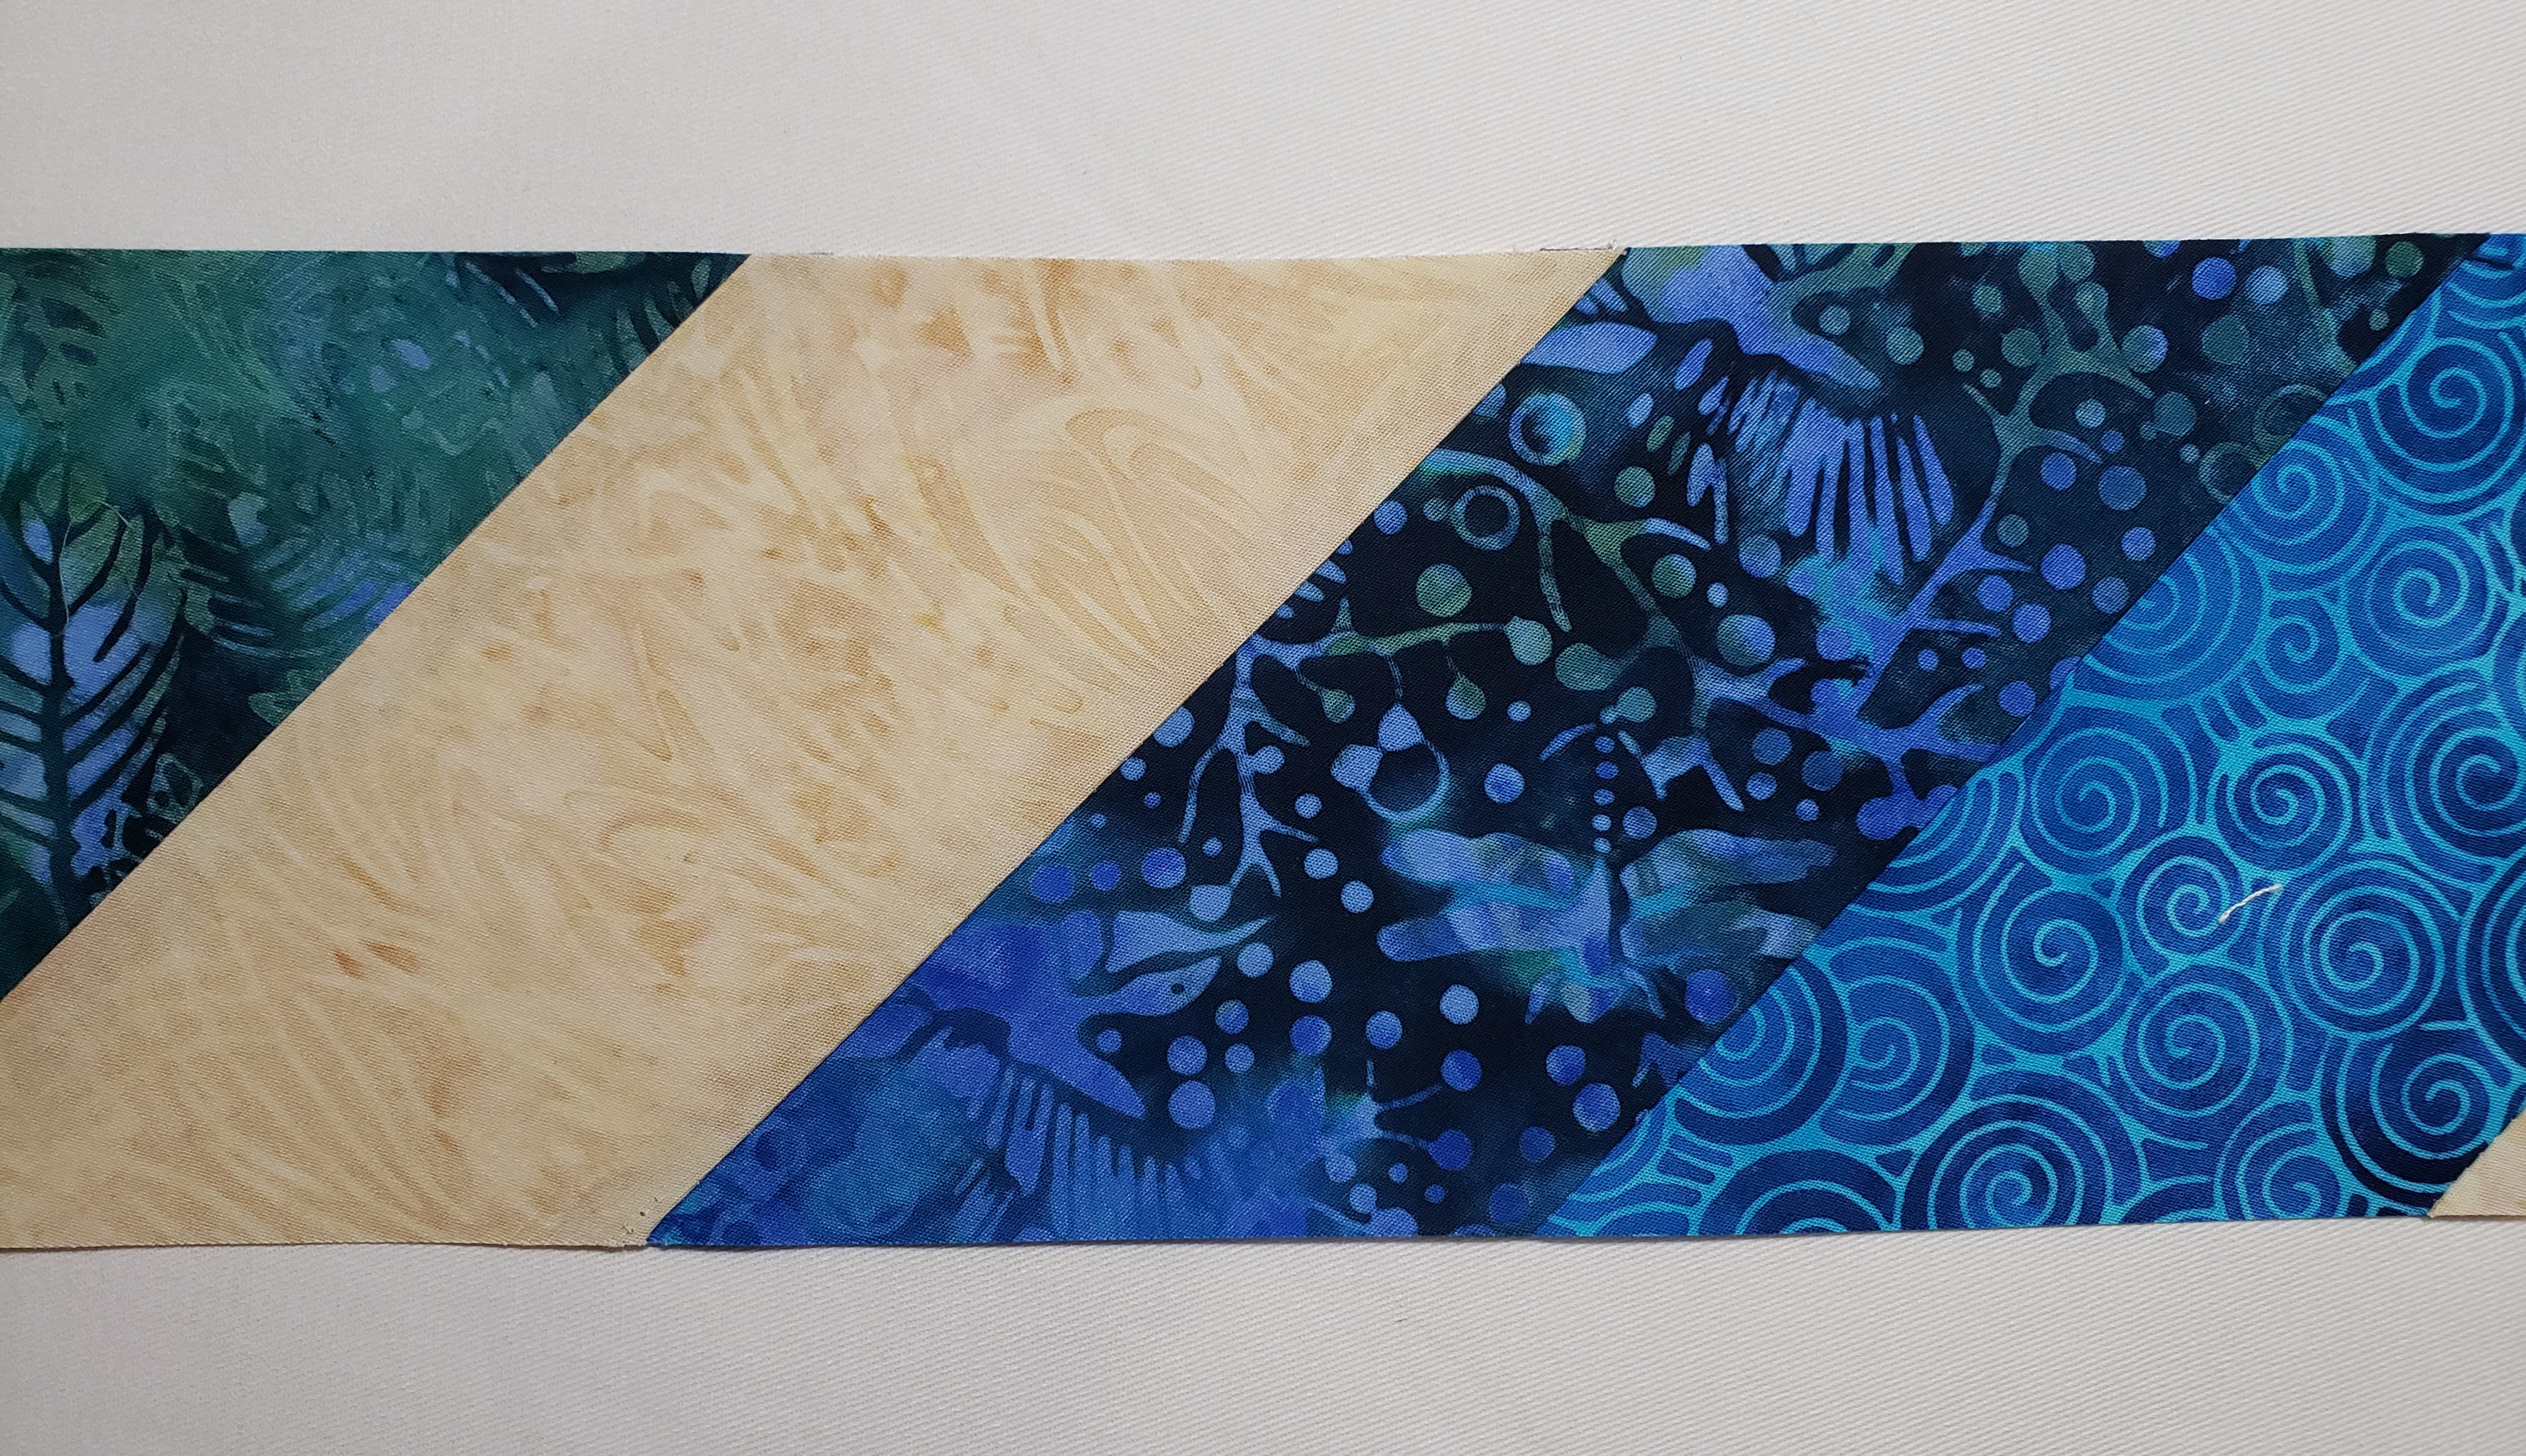
Recently I made binding for a group project and instead of using my favourite bias tube method I had to use strips that someone else had already cut. The group needed a lot of binding and I really didn’t look forward to marking and pinning all the strips before sewing then having to go back and individually trim all the seams to a 1/4” allowance after sewing. Happily, I had just cleaned out my filing cabinet and stumbled upon the instruction manual for my corner trimming tool. Wouldn’t you know there was a suggested method for joining strips on the diagonal!
It worked so well that when I decided to make a scrappy binding for Sparkling Strings I used the same method and took pictures to share. I just found them again, so here is a tutorial on using the corner trimmer to skip the marking part of joining binding strips.
Here is my new favourite tool. This particular one is by Marti Michell but I believe other companies have similar tools.

Start with cut strips (cut along lengthwise or cross-wise grain, or along the bias if you want bias binding). I find 2 1/4” or 2 1/2” wide strips work well for double fold binding on most of my quilts.


Step 1. Trim one end of each strip using the corner trimming template as shown above. You can save trimming time if you stack several strips to trim several at once. Four strips stacked together is usually my limit. If I cut too many layers at once I find the fabric slips and I don’t get accurate cuts in all the layers.

Step 2. Rotate the strip 180 degrees and trim the other end the same way. The cuts at both ends should lean the same way, as shown in the picture above. The don’t have to lean left as I have them here, as long as all the cuts on all your strips lean the same way.

Step 3. Match up the end of one strip with the end of a second strip, right sides together as shown above. The blunt end of the point on each strip will line up with the side of the other strip to position the fabric perfectly. You can pin these together if you wish before sewing along the diagonal cut with a 1/4 inch seam allowance.
Note that I have used different colored strips to make a scrappy binding, but of course you can use a single fabric.


Step 4. Press the seam open. Continue adding strips in this way until your pieced strip is as long as you need it to be (usually the combined length of all the sides of your quilt, plus 6 to 12 inches).


Step 5. To make double fold binding, fold and press your pieced strip lengthwise, right side out.

Ta da! Double fold binding ready to apply to finish your quilt edges.
I have also been using the corner trimming tool to help me trim the ends of the binding so they meet “just so” when I’m binding a quilt. I haven’t twisted the binding once since I started doing it this way. I always managed to twist it before, sometimes twice before I got it right! I took pictures of joining the binding ends. I’ll try to share those in the next week when I find time to write the directions.
I can’t believe I’ve had this tool for years (it came free with a magazine) and only now got around to reading the instructions and using it to its full potential. Oh, the frustration I could have saved myself.