********
1. Cut one square from each of two fabrics. Technically, you can cut them 7/8" larger than the desired finished size of the unit. For example, if you want a 2" finished HST in your quilt, you could cut the squares 2 7/8".
Practically, it can be challenging to make these units perfectly square, so many quilters prefer to cut the squares 1" larger than the finished unit size to allow room to trim the unit square. Using the same example as above, you would cut 3" squares for a 2" finished unit. In my instructions for the mystery quilt, the cut sizes use the inch to allow trimming.
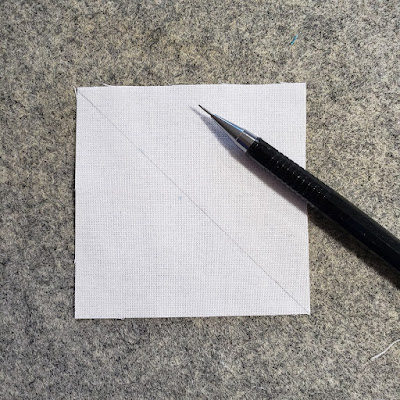
2. Draw a diagonal line from corner to corner across the back of one of the squares.
You will need to stitch exactly 1/4" away from this line in a later step. If you do not have a 1/4" presser foot that can help guide you in sewing that seam, I recommend drawing lines 1/4" on either side of the diagonal instead of a single line. You can then sew directly on these lines.
3. Layer the marked square over the second square, right sides together.
4. Sew a seam 1/4" away from the diagonal (or on one of the drawn lines if you drew two guides above).
5. Repeat on the other side of the diagonal (or on the second drawn line if you drew two guides).
6. Cut the unit apart between the two lines of stitching.
7. Press the seams to one side.
I prefer to finger press before using the iron. I do this by opening the unit and running my fingernail along the seam to flatten it. It's a bit like like creasing a fold in a piece of paper. Doing this before using the iron helps me ensure as little fabric as possible is lost in the seam's fold. Finger pressing is also less likely than a hot iron to distort the fabric. Pressing (not ironing) with the hot iron after I finger press simply sets the fold I made with my fingernail.
8. You will need to trim the units 1/2" larger than your desired finished size. In this case, for a 2" finished unit, we need to trim the units to 2 1/2" square.
Make sure to keep the seam on the diagonal, corner to corner, when trimming. To do this, place the corner of a quilting ruler over the unit, lining up the marked 45 degree line with diagonal seam.
9. Holding the ruler firmly in place, use a rotary cutter to trim away any excess fabric extending past the top and side of the ruler.
10. Turn the unit 180 degrees. Reposition the ruler so that the correct size marking (in this case 2 1/2" both vertically and horizontally) line up with the sides of the unit that you trimmed in the previous step. The 45 degree marking on the ruler should line up with the seam.
11. Holding the ruler firmly in place, use a rotary cutter to trim away any excess fabric extending past the top and side of the ruler.
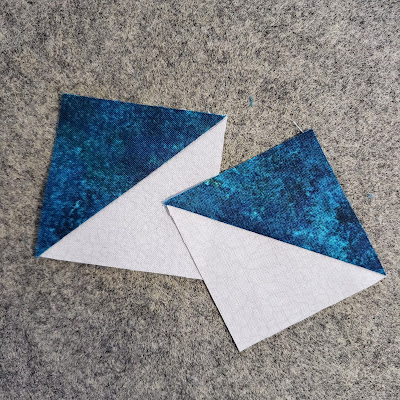
12. Repeat the trimming process for the second HST. Your two HST are complete and ready to use in a block or quilt.
********
There are other ways to make HST. I encourage you to try various methods and choose the one that works best for you. Just remember that if you are using a pattern, that pattern's fabric requirements and cutting directions are based on the HST method used in the pattern. If you choose to use a different method, be prepared to make adjustments to the fabric requirements and cutting instructions if necessary.
After all that, I'd like to know if you have a favourite HST method. Why do you prefer it?
Happy quilting,
Joanne
My thanks to Northcott Fabrics for the fabrics I used in this tutorial.


I assume we use the 2 1/2" squares for this how many HST do we need to make?
ReplyDeleteAll the information is in the clue that was emailed to participants yesterday (March 14th). Please refer to those instructions for details.
Delete