Saturday, April 29, 2023

Cutting 45 degree diamonds and parallelograms

How do you feel about diamonds and parallelograms?  

Most of us have used squares, rectangles and triangles in our quilts, but other shapes seem to show up less frequently.  Because they aren't used as often, we're less familiar with them and they can be intimidating.  

Parallelograms with 45 degree points

All you need to cut these shapes is a rotary cutter and a ruler with angle markings.  Most rulers have a 45 degree marking.  Some also have 60 degree markings.  For this tutorial, I'm using the 45 degree markings to cut shapes with 45 angles, but the method would be the same to cut 60 degree shapes.

Tools and materials

Start with a fabric strip or a strip set.  Your pattern should specify what width to use.  

To make the first cut, line up the 45 degree marking from the ruler with one edge of the strip then cut across the strip along the edge of the ruler.


Cut the strip at an angle along the ruler

To avoid cutting towards me I rotate the strip 180 degrees for the next cut.  

To cut a diamond, measure from the cut edge, using the width of the strip as the measurement.  Line up the measurement marking along the full cut edge.

I like to also line up the 45 degree marking with one side of the strip to make sure the angle is still accurate. This is especially important when cutting additional diamonds, as small shifts of the ruler or a slight curvature in the strip, can add up to alter the angle over several cuts.  If I can't place the width measurement along the cut edge and the angle marking along the side of the strip at the same time, the angle is off.  If that's the case, I need to trim the end to the correct angle again before cutting the shape.


Repeat the previous step as needed to cut as many diamonds as you need.

In the case of diamonds, it doesn't matter which direction the 45 degree cut lies, leaning left or right, because the diamond has four-fold symmetry.  You can just rotate the cut shape 135 degrees to orient it as needed (unless you're using a directional print and care about the print direction, in which case you'll need to keep reading and pay attention to cut direction).


If you're cutting a parallelogram with two longer sides, simple rotation won't work. You can't just rotate a left-leaning parallelogram to make a mirror image leaning right instead.


You'll need to pay attention to which way your parallelogram needs to lean before you start cutting.


The pictures below show how to cut parallelograms that lean to the right as well as those that lean to the left.


Setting the cut direction to lean left

Setting the cut direction to lean right


As for the diamonds, rotate the strip 180 degrees after making the first cut shown above.

Your pattern should specify the measurement to use for the second cut.  As when cutting a diamond, measure from the cut end, lining the measurement line up with the full cut edge.

Cutting a left-leaning parallelogram


Cutting a right-leaning parallelogram

Parallelograms
Top: left-leaning
Bottom:  right-leaning


That's it for cutting.  Next up, click here for a tutorial on how to line up these units when piecing them side by side.  I shared a little bit about that in this post, but the tutorial is more comprehensive.


You can cut these shapes from strip sets as well.  My patterns Echo Point, Leading Edge and Rush all use 45 degree shapes cut from strip sets to reduce the number of angled shapes to cut and sew individually.


Happy quilting,
Joanne

Friday, April 14, 2023

A quilt finish and a pattern

There's nothing like a deadline to make me finish a quilt.  To be clear, I enjoy finishing quilts.  It's just that I can sit and stare at a quilt top for a very long time before committing to how to quilt it, so the finish is often delayed.

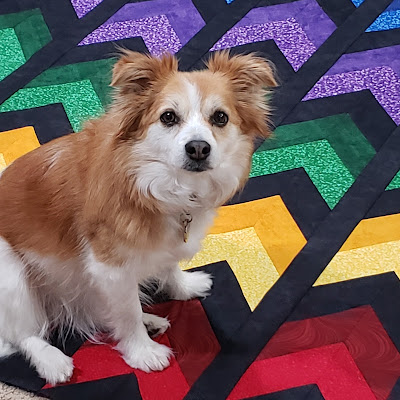
Rosie telling me a quilted quilt would be more comfortable than a mere quilt top

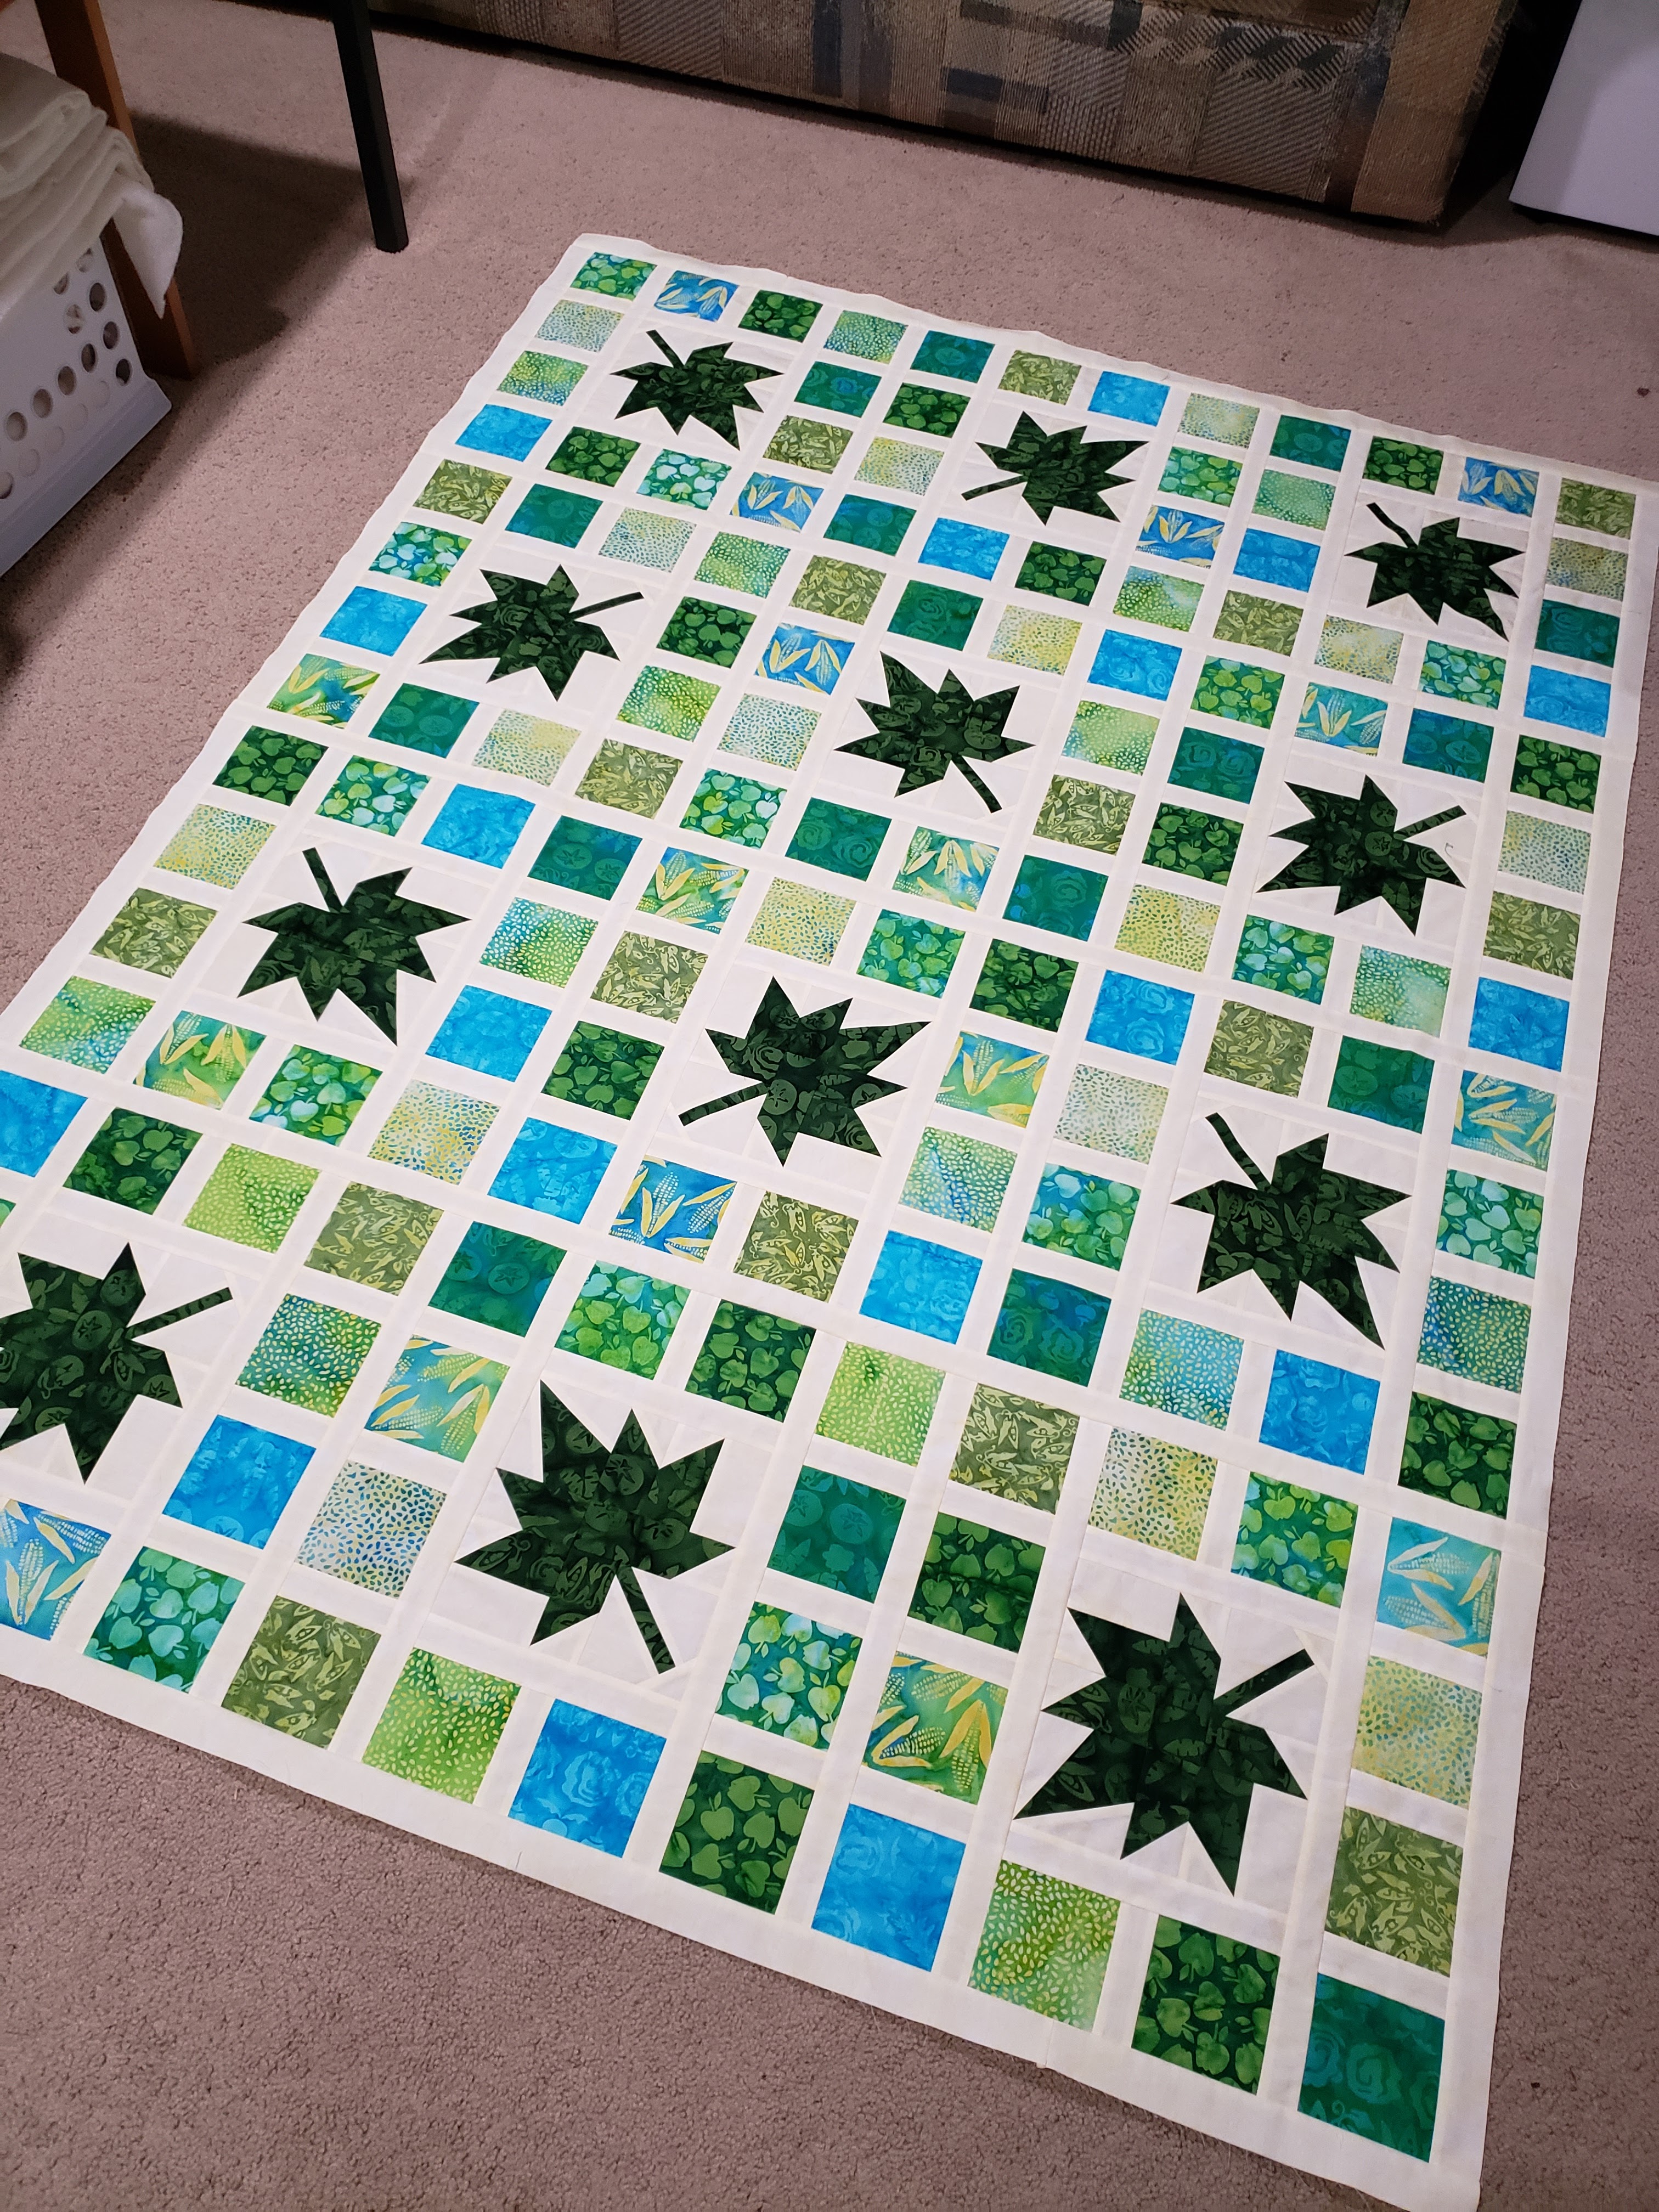
My new pattern, Rush, needed a cover quilt to be ready for sale when a certain fabric company's catalog goes live. I had to stop waffling and quilt it already! I listened to Rosie and got to work. Here it is, quilted and bound :)

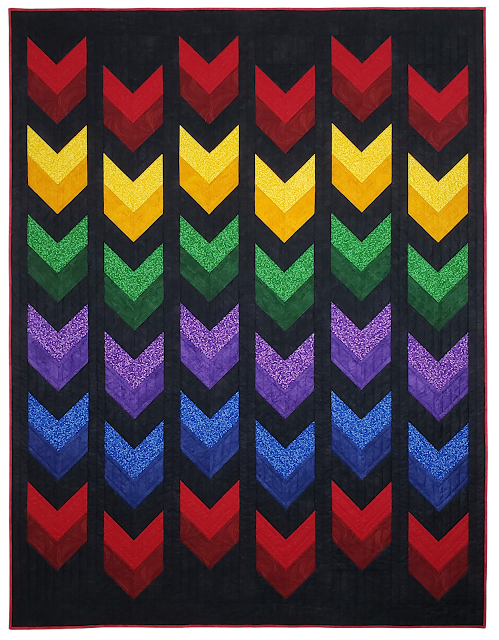
Rush by Canuck Quilter Designs

When I first started playing with a chevron shape in EQ8, I built it with flying geese units.  That would have worked fine, but would have a lot of points that could be potentially cut off, and I wasn't feeling like taking on that challenge just then, so I let the design sit.

When I was working on the last set of Echo Point placemats, I had an flash of inspiration. Echo point is essentially a chevron.  Why couldn't I build the chevrons in the quilt the same way?  I had to work out some math to figure out sizes and make sure I wouldn't end up having to cut non-standard measurements but everything fell into place.

Construction went very quickly after that, except for the pause for a sulk when I sewed the sashing to the wrong side of a couple of rows.

Sashing in the wrong places

Once I got over my sulk, ripped some seams and sewed it all back together properly, Rosie supervised border measuring.

Rosie in supervisor mode as I measure a border strip

I like to lay the border strip directly on the quilt and just mark the length right on the strip.  I lay it across the middle, then the top and again at the bottom to make sure there isn't any huge variation, but usually the measurements are close enough (less than 1/4" variation) that I can just use that middle measurement.  I then layer the strip over a second border strip, matching one end, and cut both strips at once to the marked length so that I know the borders will be exactly the same length.  

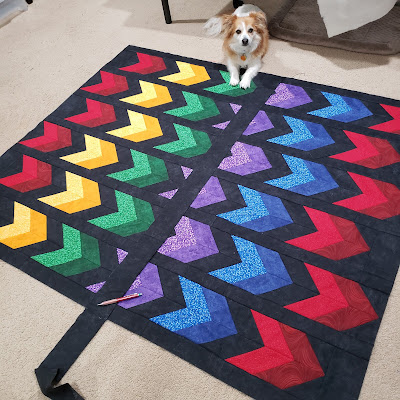
Completed Rush quit top

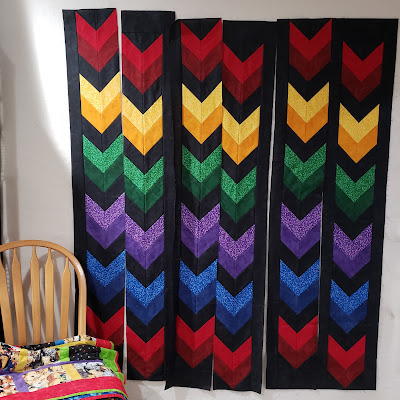
This was my design wall for a while.  The quilt looked pretty up there for at least a month while I worked on smaller things that didn't need the design wall and I pondered whether I was going to quilt this myself or send it out for quilting.

It would have been faster to send it out, but I was really stuck on thread colour.  I didn't want a lighter colour thread showing up across the black background, but I didn't want black thread over the colours either.  A medium colour would have been a compromise, not perfect on any of the fabrics.  I wasn't up for paying for custom quilting to switch thread in the different areas.  OK then, home quilting was the way to go.

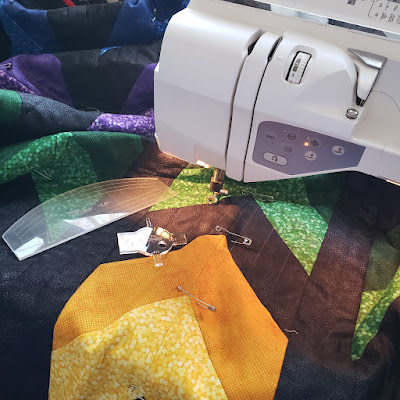
Quilting on my domestic sewing machine

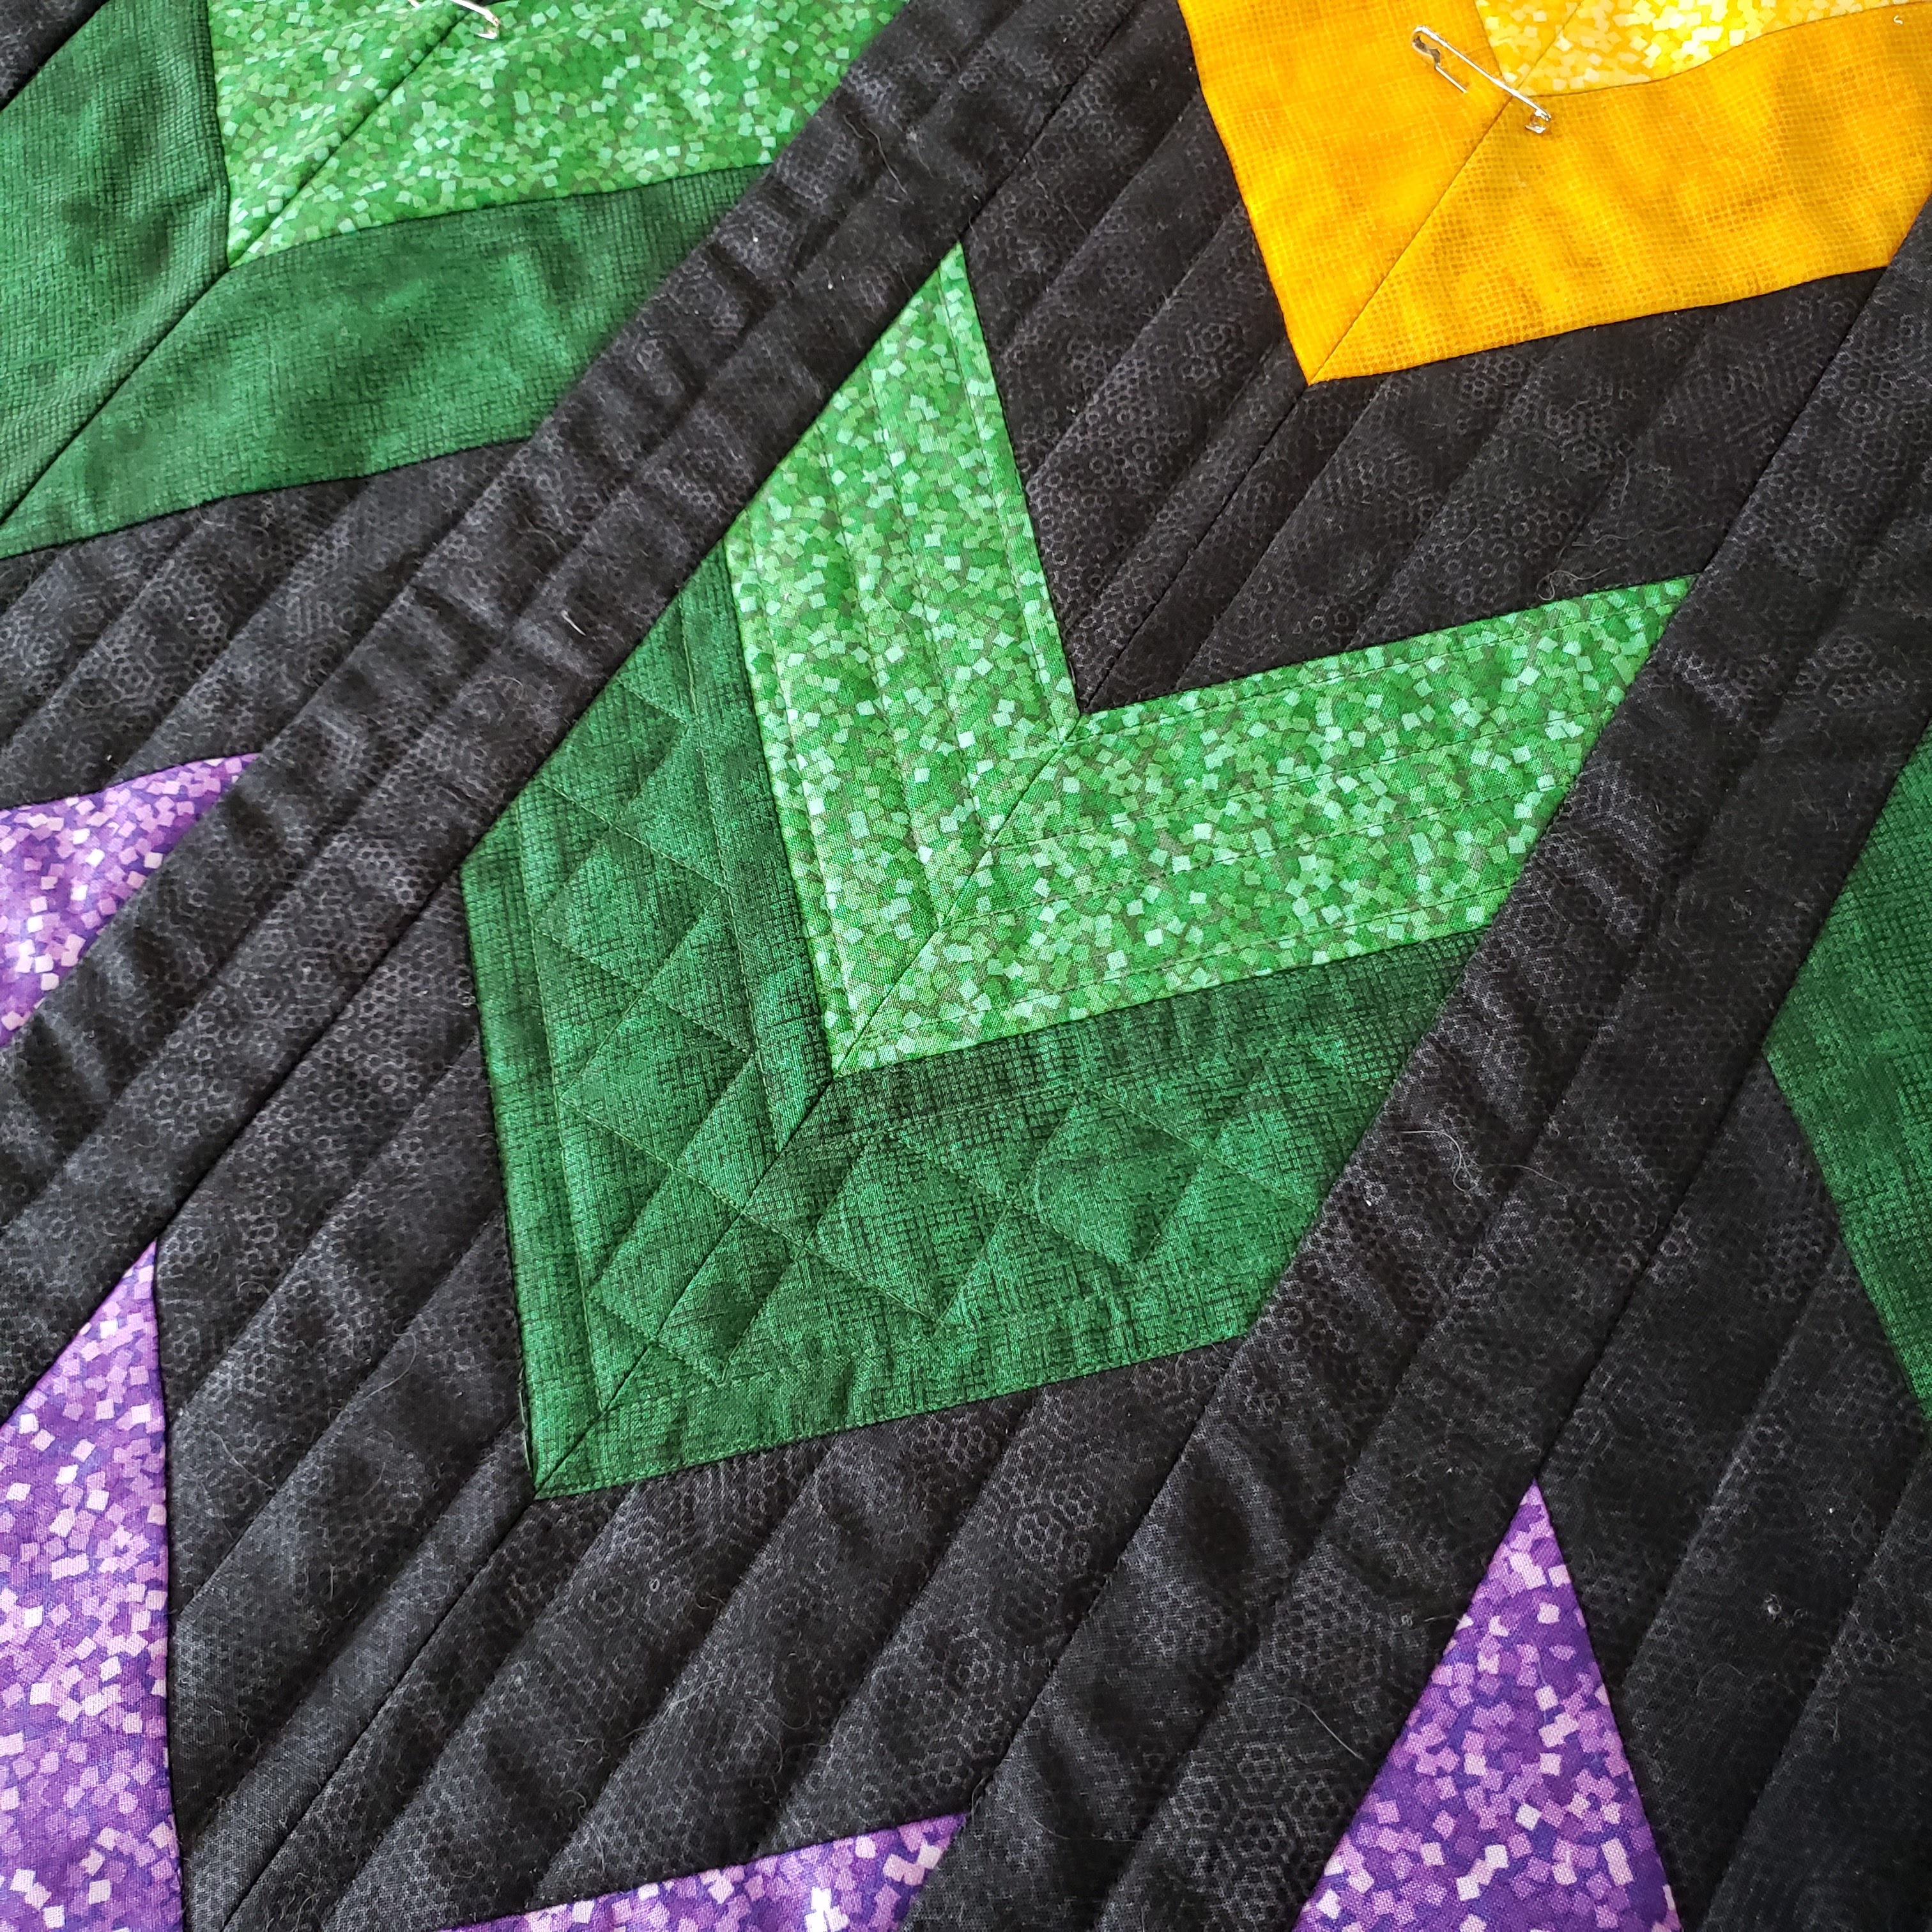
I quilted straight lines 1" apart in the black background, using my walking foot for the long lines between columns of chevrons and switching to ruler quilting for the short lines between the chevrons.  I planned freemotion and ruler quilting for the chevrons, a different design in each color.  That didn't happen, as my machine decided it didn't want to sew in a particular direction, interfering with my ability to sew these designs.  There may have been some heavy grumbling in the sewing room at this point.

I could work around this machine issue if I reverted to straight lines. Here's the first bit I quilted.


I rather liked the squares, but I was running out of time so I simplified things in the rest of the colours.

This worked just as well, I think.  It's less fancy but equally effective at creating texture and highlighting the chevron's shape.

I was limited in my thread colour options, as I didn't have access to the quilt shop (we're a one car family and I didn't have time to taxi husband and daughter to work to keep the car myself).  I was surprised I actually had just the right thread colours for most of the chevrons, but red was trickier.


At first glance, I though the one on the right would be the best bet.  Just to be sure,  I pulled some thread off the spools to audition them that way.


Huh. Look at that.  I'm partial to thread that blends with the fabric, so I see texture rather than a line of colour where the quilting is.  In that respect, the thread on the left, which absolutely did not look like a good match on the spool, looked like a better choice.

As I stitched I wasn't sure, but now that it's all done, I'm happy enough with my thread choice.

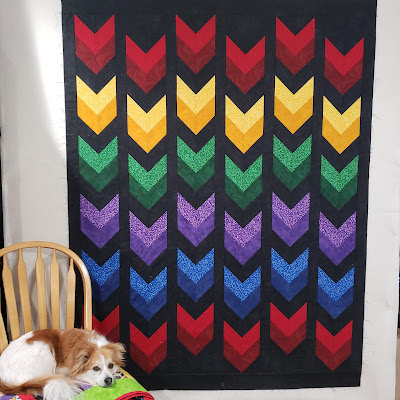
Finish everything off with a bright red binding, mount it on the wall, take a picture,  call on my very limited photoshop skills to straighten the picture a bit, and voila, a pattern cover!


Rush is a throw size quilt, though you could easily add more chevrons to enlarge it.

How do you feel about sewing with 45 degree shapes like the ones I used in Rush?  I'm working on a tutorial about cutting and sewing these shapes. They are not particularly difficult to work with, but I know some quilters shy away from them.  I'd love to know if there are any particular questions I should address, or tips I could share.

If you don't want to miss the tutorial when I post it, watch this blog, sign up for my newsletter or follow me on Instagram or Facebook.

Happy quilting,

Joanne

The Rush pattern is available as a PDF download in my shop. You can ask for a print version at your favourite quilt shop.  Shops, please visit my website for wholesale info or order from Checker Distributor.

Saturday, March 4, 2023

Leafy Pathways new pattern reveal

I'm in New Brunswick this week, due to an unexpected family emergency (all is turning out well, no worries!).  About 10" of light fluffy snow fell on Thursday.  Yesterday, with the sun shining in a blue, blue sky, I thought it was absolutely lovely.  Today the sky is gray and blah and there are brown puddles on the streets and sidewalks.  Guess who is looking forward to spring again?

Leafy Pathways makes me think of spring, which is just what this blah late winter day needs, so it's a perfect day to share this finish and  new pattern.

Leafy Pathways by Canuck Quilter Designs
Fabric:  Fruit and Veggies from Island Batik

From the photo, you may have guessed that I did not finish this quilt recently.  Green grass and leaves are not a feature of Iowa in winter!  I've kept this quilt under wraps since last summer, and I'm so happy to be allowed to share at last now that the fabric is arriving in stores.

I started with a tidy stack of fabrics from the Fruit and Veggies collections sent to me by Island Batik, which I promptly cut up into pieces.

Fruit and Veggies batiks from Island Batik

I made the leaf blocks first, then proceeded to lay out all my squares around those.  I've said it before.  "Random" color placement is hard.  Actually, my science minded husband is quick to point out that random is actually quite easy.  The pleasing distribution of prints and colours I aim for isn't actually random at all.  It's just a pleasing arrangement, or as pleasing as I could manage in the time I was willing to devote to it.  Trust me, more time would result in so many different distributions, and not necessarily any better ones!

I'm lucky that while Rosie, my trusty quilt dog, supervises carefully, she refrains from rearranging the pieces for me.  That said, after laying out this quilt, I made the effort to get my design wall put up.  It's much less taxing on my back to rearrange on the wall than on the floor.  Of course, if I'd been using the wall I might have done a few more iterations of the layout, so maybe the floor was for the best.

Center of Leafy Pathways by Canuck Quilter Designs

Here's the center.  I'll be honest, I rather like this without a colour border.  It seems lighter, airier.  I think making the outside sashing  wider and using a contrasting binding (maybe even a scrappy binding with all the colours from the squares) would have finished this quilt off beautifully and given it a modern vibe.

However, I had committed to the final design before Island Batik sent me the fabric, so I finished it with a colour border as I'd initially proposed.  I like how that turned out as well.  It's a more traditional look, and I like that too.


You might be looking at all that sashing and shuddering.  I get it.  Long sashing strips are one of my least favourite things to sew. However, there aren't as many as it seems at first glance. The blocks are actually the leaf surrounded by a ring of squares, so much of the sashing is in small lengths within the block.  There are only 5 horizontal sashing strips spanning the width of the quilt center.  The vertical sashing, even on the outside, is all made up of shorter strips.


This design would work really well with assorted red scraps for a Canadian patriotic quilt.  I'm putting that on my list of quilts to make just for me :).  Eventually.

It's also a perfect fall quilt in orange, gold, rust and/or fall prints.  You could even use different prints for each leaf as my pattern testers did.  Thank you to Dana and Sandie @crazy'boutquilts for testing the pattern and sharing these pictures.

Dana's version of Leafy Pathways

Sandie's version of Leafy Pathways
Find Sandie on Instagram (@crazyboutquilts) or on her blog

That's all for now.  I hope all is well in your world.

Happy quilting,
Joanne

The Leafy Pathways pattern is available as a PDF download in my Etsy shop, or ask your favourite quilt shop for a print version.  Shops, please visit my website for wholesale information or find the pattern at Checker, Brewer or EE Schenck.

Look for the Fruit and Veggies collection in stores now.