Sandra over at
Musings of a Menopausal Melon tagged me in the Around the World Blog Hop doing the rounds in blogland. You might like to go cheer her on as she challenges herself to finish the applique round of her guild round robin project. Hats off to her for doing this pretty applique – I don’t tend to stretch myself in that direction!
The point of the blog hop is to introduce ourselves around and share what we do, how we do it, why we do it. Explore our creative process. Right. I never thought much about this, so we’ll see how the exploration goes.
Before I start that let me introduce you to Raewyn of
Love To Stitch, who will join the hop on her blog next week. Raewyn lives on a farm in New Zealand, works in a quilt shop and produces a beautiful variety of stitched projects large and small. Check out the
Birdy Love BOM she designed last year to encourage freemotion practice. I hope you’ll take time to visit her next Monday to read her musings about her creative process.
Now, about me and my creative process…
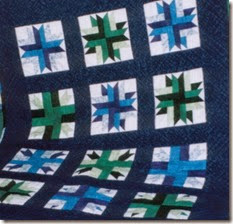
I’m Joanne. I started quilting about 14 years ago when I needed a wedding gift for my brother and sister-in-law. I spent the gift budget on a ruler, rotary cutter, mat and fabric and made a lap quilt. The gift was delivered a bit more than a year after the wedding (because it was a first quilt, and hand quilted, and I had a toddler and a newborn and was a tad busy and tired and that’s my story and I’m sticking to it!). I almost kept that quilt for myself, but it would have looked bad to send a store-bought gift at that late date…
However late the gift was, I was hooked and I have been cutting up perfectly good fabric and sewing it back together ever since. I love colors and shapes and playing with them. I enjoy putting on music to sing along with as I sew unit after unit and see something new emerge. (I blame my daughter for lodging the Frozen soundtrack firmly in my skull the last couple of quilts!) If I’m anxious or nervous or upset, designing and sewing occupies my mind so I can’t fret for a little while. If I’m happy and relaxed, the same process makes me more happy and relaxed. I win either way!
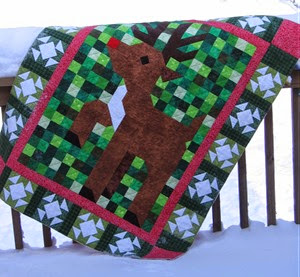
This one (
Rudolph is from Jingle Patch from Quitmaker’s Patch Pals collections, borders from the Polar Patch pattern) was just pure happy and getting happier as it got later in the night (sleep deprivation can make me a little loopy). I just couldn’t seem to step away from the sewing machine.
Over the last 4 or 5 years I have started making quilts from my own designs more often than from someone else’s patterns. I like figuring out how to make an idea work (just please don’t ask me where the ideas come from because I really don’t know). I also like piecing but find that a lot of what I find in quilt magazines these days is geared to less piecing and a quicker finish. There’s nothing wrong with that, except that I enjoy the piecing process so I don’t want to get it over with quickly. In fact, slower is more in tune with my budget: a quilt with more piecing takes me longer to assemble, so I don’t have to start something new as frequently, so I don’t have to buy fabric for the next quilt quite as often. My apologies to my local quilt shop!
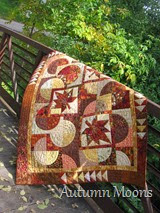
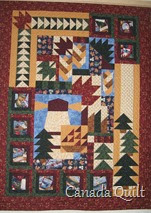
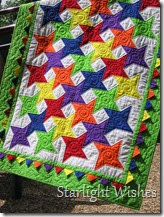
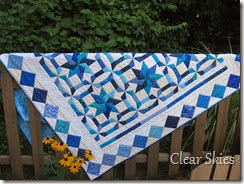
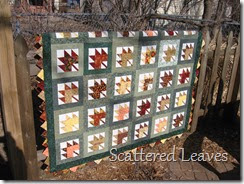
Looking back over pictures of my quilts I find it hard to find a description that fits all of them.
I thought I gravitated to bright happy colors, mostly marbles, tone on tones and batik, over bold prints, though I can be swayed to buy novelty prints now and then. But as you can see above, I love those rich autumn tones too. I used to think I was a blue quilter, but then I made Clear Skies (
Kyoto Garden by Judy Martin) all in blue and I love it but haven’t been compelled to dive into my bin of blue fabric since. Vintage Sparkle is all in reproduction prints and I was surprised at how much I enjoyed playing with those more subdued colors. There may be more of those in my future. I seem to like shapes with points too, but Quilter’s Scrapbook is one of my favourites despite being mostly squares. Autumn Moons is heavy on circles and I loved making that one, so I foresee more circles too.
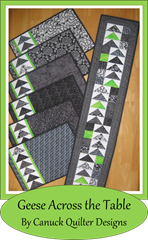
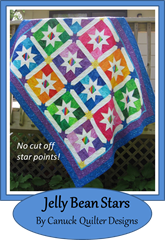
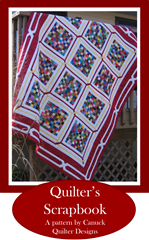
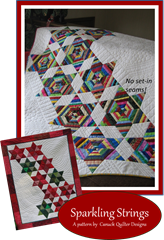
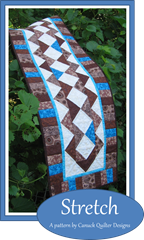
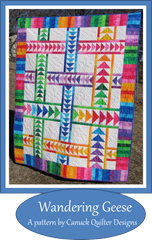
About a year and a half ago I started writing patterns for some of my designs and selling them as pdf downloads. (Click on the "Pattern Shop" tab above to visit the shop.) There was a learning curve involved in translating those designs into a pattern someone else could follow! It felt good to challenge my brain though, and I learned to use EQ7 and PowerPoint to make and edit diagrams, and to lay out and explain steps in a clear, organized way. Having learned heaps about it in the last year, I spent a chunk of my summer reformatting and editing earlier patterns. I was proud of them when I first wrote them and now they are even better. Now I’m pondering marketing patterns wholesale to quilt stores, and I can tell you that’s a whole other daunting learning curve!
I don’t have many UFO’s (
Un
Finished
Objects). Every now and then I end up with 6 or 7 projects in various stages of completion. That’s a paltry number by many quilters’ standards, but it’s too high for me. When I have too many projects I spin around in circles, not knowing where to start and I get nothing done. I feel I
should be doing something and that’s when quilting starts to feel like a chore that must be tackled rather than the stress-relieving leisure activity I enjoy. Once I tackle the chore I can get back to enjoying the process again, but it’s best to not get in that fix in the first place. But I do and I will again!
At the moment I have four projects in various stages.
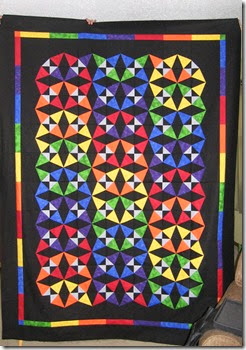
This bed quit for my son is in the hand quilting basket. Quilting will resume once cooler fall evening arrive, so I don’t feel too bad about this one being at a standstill.
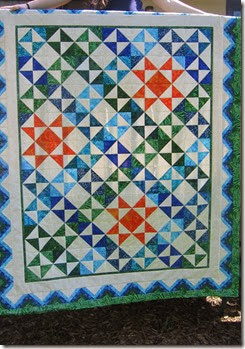
I promise no more pictures of Seeing Stars until I actually quilt it. It’s been sitting around a while waiting to be machine quilted. That brings me to a note about the quilting part of quilt making. I love how the quilting texture adds so much interest to the quilt. I like light custom quilting, working with and complementing the piecing rather than running across it with an all over pattern or competing with a very dense, elaborate (don’t get me wrong, I can appreciate some of the amazing dense custom quilting out there – it just isn’t me).
Here’s the catch. I’m a slow hand quilter and I don’t particularly enjoy freemotion quilting. Engaging the services of a longarmer is not happening, due to both budget and to me wanting the whole quilt to be mine. If I muck up the quilting I have only myself to blame, but if it brings the quit to life I have only myself to congratulate. Vain of me, I know! So I am learning to do more with my walking foot, getting out of the ditch and adding design elements. You can look
here,
here and
here for examples of my walking foot quilting.
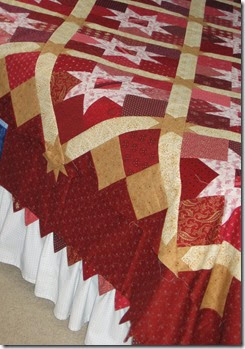
Vintage Sparkle is waiting patiently for its borders, then it is slated for hand quilting.
![IMG_8518[1] IMG_8518[1]](https://lh3.ggpht.com/-T02qiyT92WI/U-kHb8DS3wI/AAAAAAAADyM/BkQFkfv8TBE/IMG_8518%25255B1%25255D_thumb%25255B15%25255D.jpg?imgmax=800)
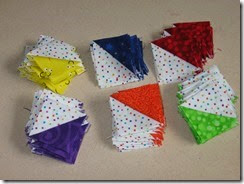
Finally, 156 HSTs are being shuffled daily on my cutting table until I decide which arrangement will become a mini quilt or a runner, or if I can somehow add to them from my stash to stretch the project to a baby-sized affair. There are a few patterns in the works too – Sparkling Wishes, Baby Steps, perhaps Autumn Moons… There’s plenty to keep me busy.
Happy Quilting!




![IMG_8518[1] IMG_8518[1]](https://lh3.ggpht.com/-T02qiyT92WI/U-kHb8DS3wI/AAAAAAAADyM/BkQFkfv8TBE/IMG_8518%25255B1%25255D_thumb%25255B15%25255D.jpg?imgmax=800)
