This little tool came packaged with a magazine years ago. It sat in a drawer, unused and unappreciated, for years. Now it's the tool I reach for most often after my rotary cutter and rulers.
It's a corner trimmer. When it first arrived in the mail with that magazine, I thought it was only useful for trimming triangles to make HST the traditional way from two triangles. Since I didn't much care for making HST that way, I tucked the tool away and forgot about it. Years later I found it while reorganizing my stuff. I paused to read the instruction booklet. Now the tool is never tucked away.
I still don't use it to make make HST, but I fully appreciate it to trim any other 45 degree point. It takes all the guesswork out of lining up a triangle with another shape. No more eyeballing if the pointy tip sticks out just enough past the other shape for the seam allowances to line up. I took pictures today to show you.
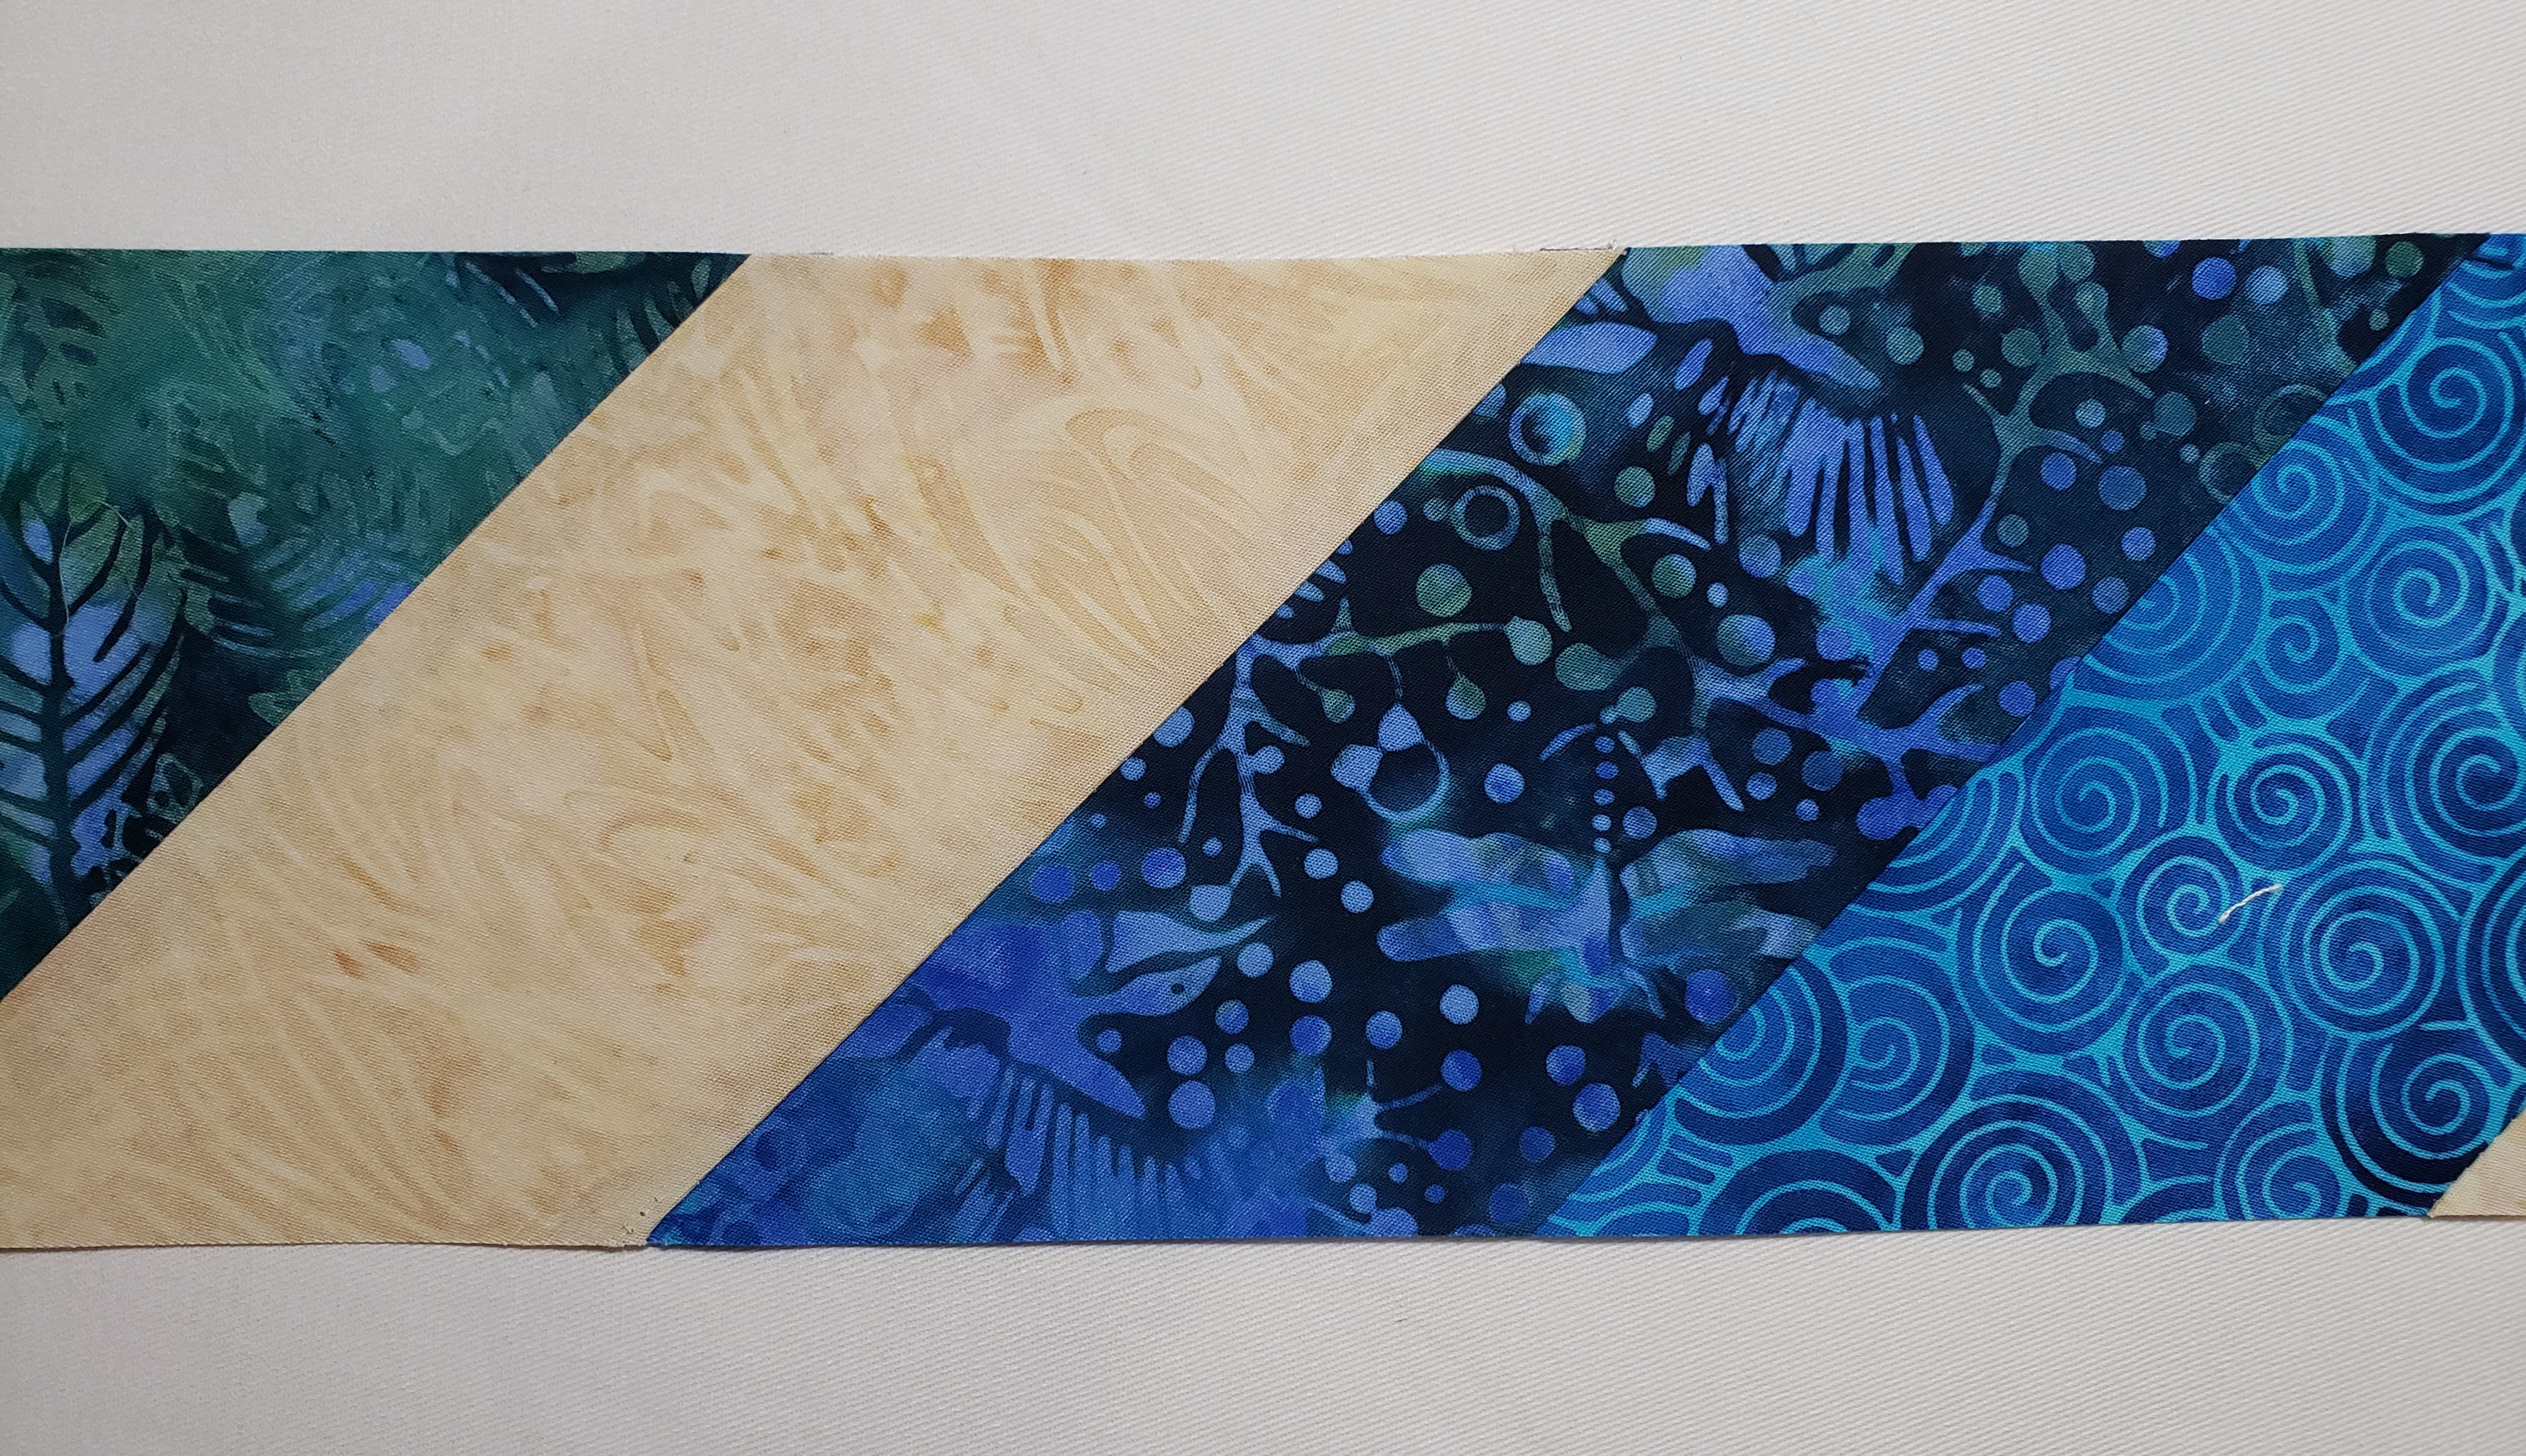
I'm testing a new design idea that has lot of 45 degree points that meet wide 135 degree corners.
When sewing that seam, the points and corners need to be offset for everything to line up straight after the seam allowance eats into the fabric. The trick is to have the points stick out the same amount on each side. I can "eyeball" this and hope for the best, with my seam ripper on standby in case I didn't estimate quite right.
Or, I can use my corner trimmer to trim the points just right.
Now the blunt, trimmed points match up perfectly with the wide corners. No guessing required.
Sew with a 1/4" seam and ...
... tada! Straight edges line up beautifully on the first try and my seam ripper gets the night off.
It takes a little extra time to trim points, but I save time in the long run by getting things lined up right the first time and avoiding seam ripping an resewing.
I love my corner trimmer! I also use it when:
- joining binding strips to avoid marking the diagonal seams
- joining the binding tails while binding a quilt (scroll down about 2/3 of the way down this post to see how)
- adding setting triangles to an on-point setting (trimming points lets me position them precisely, so I can pin them in place and avoid any inadvertent stretching or distorting of the bias edges in the triangle)
- sewing a triangles to a square or rectangle
So, it's a small but extremely useful tool. I can't believe it was relegated to a junk drawer for so long.
Do you have a favourite tool to recommend for better piecing? I'd love to hear about it.
Happy quilting,
Joanne
PS: The Placemat Party 2022 is next weekend! It's free and you can sew whatever you like but you need to sign up here for the Zoom meeting schedule and links if you want to participate that way, and/or join my Facebook group to participate there.


I too have a point trimmer tool, but mine came from the lovely Judy Martin & I probably don't use it enough, but there are times when it is so useful. I'll pop through an email later today when I work out a good time for our trial run for Zoom. Take care & hugs.
ReplyDeleteI have that tool and have never used it. Now that I know what it is for I will have to go find it!
ReplyDeletethat looks great...........I too had a ruler in the draw that I didn't use for years and not it's in constant use almost...........
ReplyDelete